Showing posts with label 2016 Quilts. Show all posts

Wednesday, June 15, 2016

Little Miss Sunshine Quilt + giveaway winner

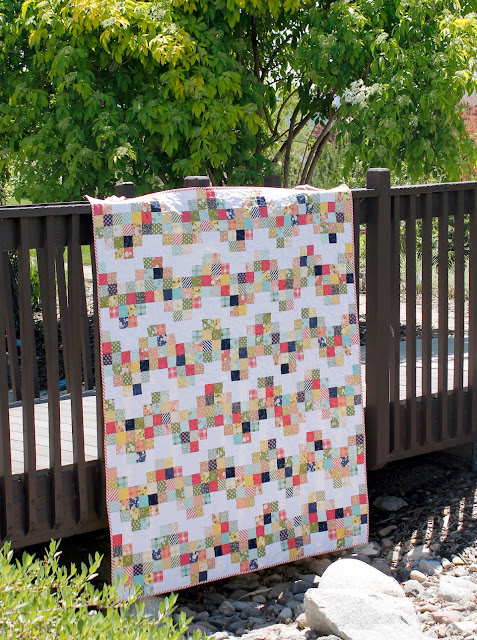
This quilt was finished a couple of months ago but it took some time for me to get some good photos to share.  I have a new, fun spot for quilt photos by the way, and you're going to see more of this bridge over the summer :)  

Little Miss Sunshine quilt

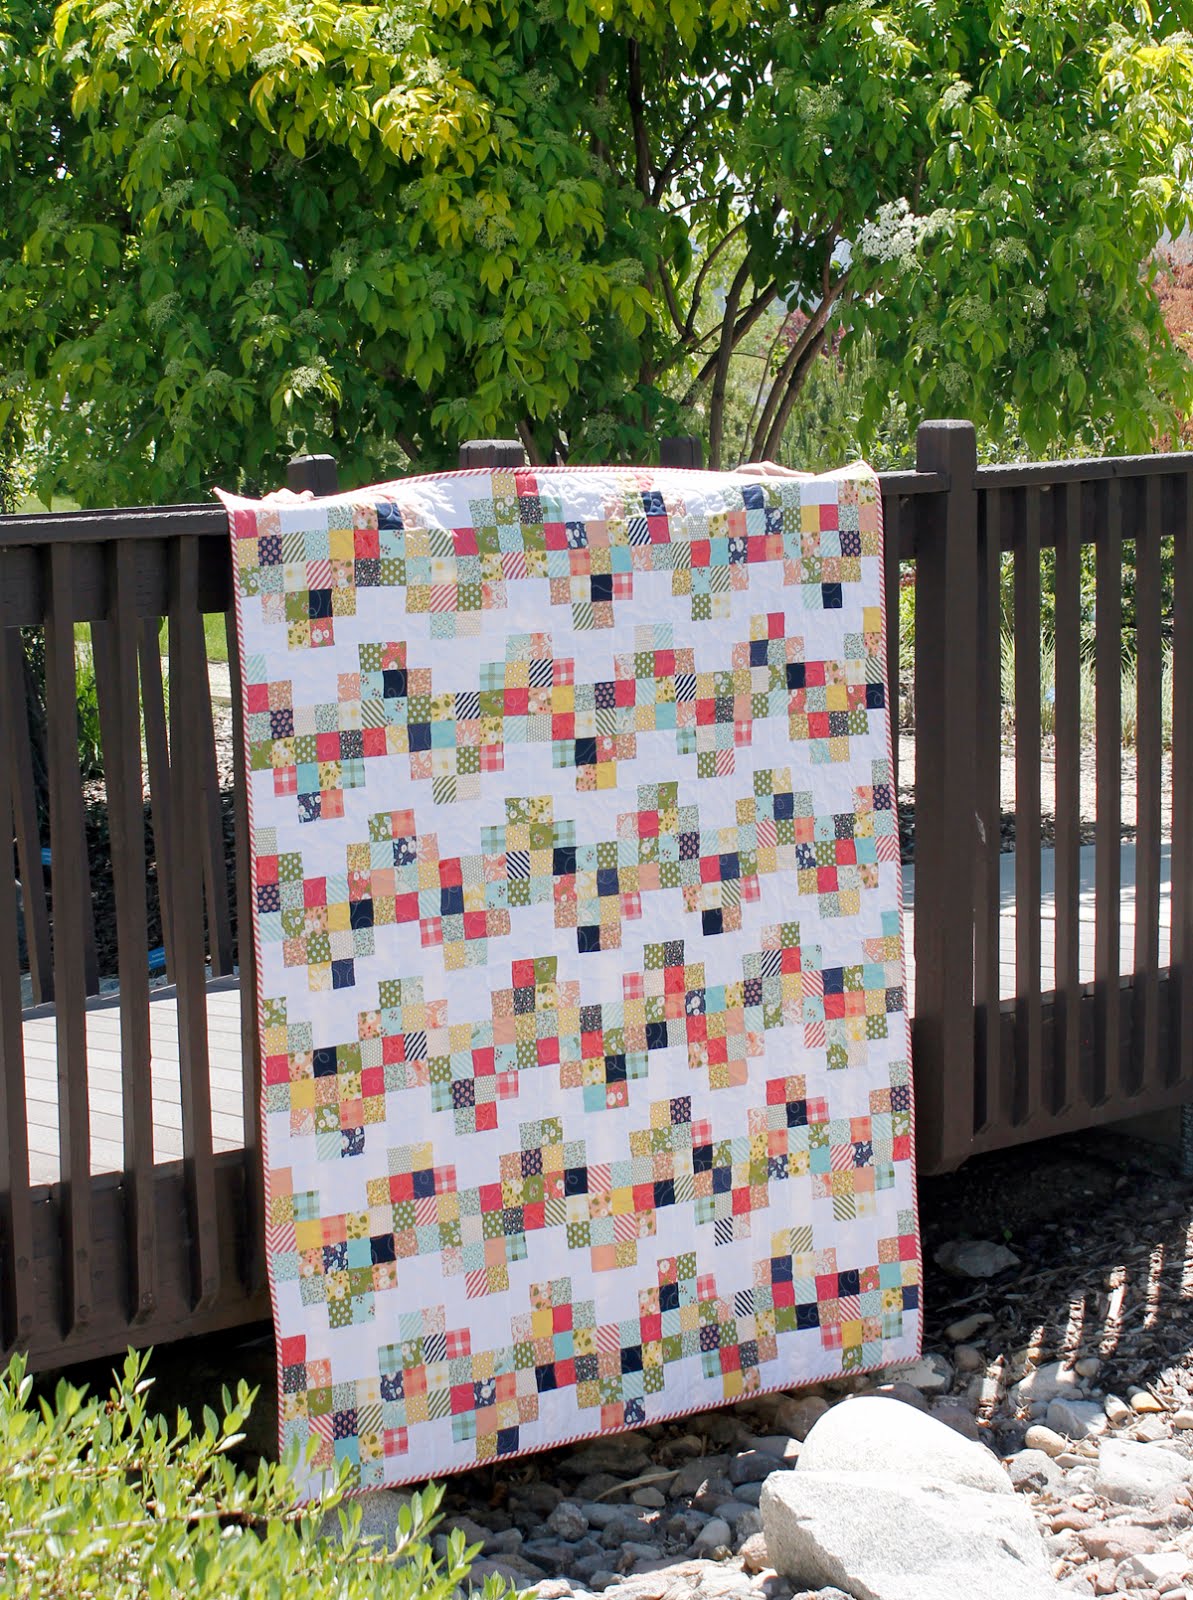
This is my Little Miss Sunshine quilt, which I first blogged about here.  Back before these cute fabrics were even in the stores, Vanessa (Lella Boutique) generously sent me a box of Little Miss Sunshine scraps.  It was such a treat!  

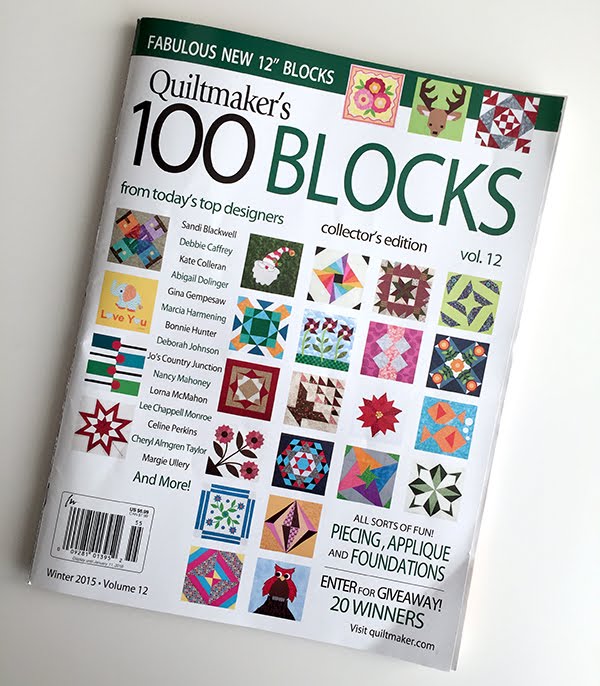
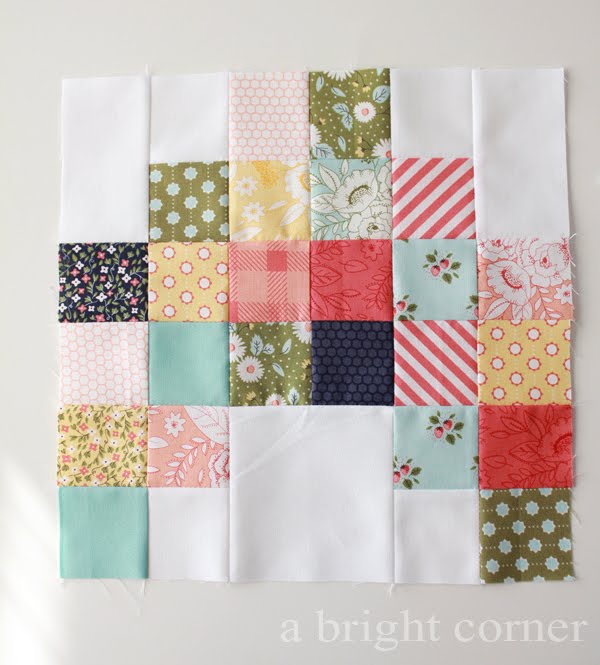
I found the block pattern that I wanted to use from the Winter 2015 issue of Quiltmaker's 100 Blocks.  It's block #1184 called Electric Avenue and it's designed by Jessi Kurtz.  

Here's what the individual block looks like.  It has so much potential - change the color / fabric placement in the block, or change the block layout in the quilt and you'll get a different look each time.  It's a great block to use with scraps, or smaller leftover bits from a favorite quilt.  In fact, I'm tempted to make another quilt like this using just the gems from my scrap bins.  
Little Miss Sunshine quilt made by A Bright Corner

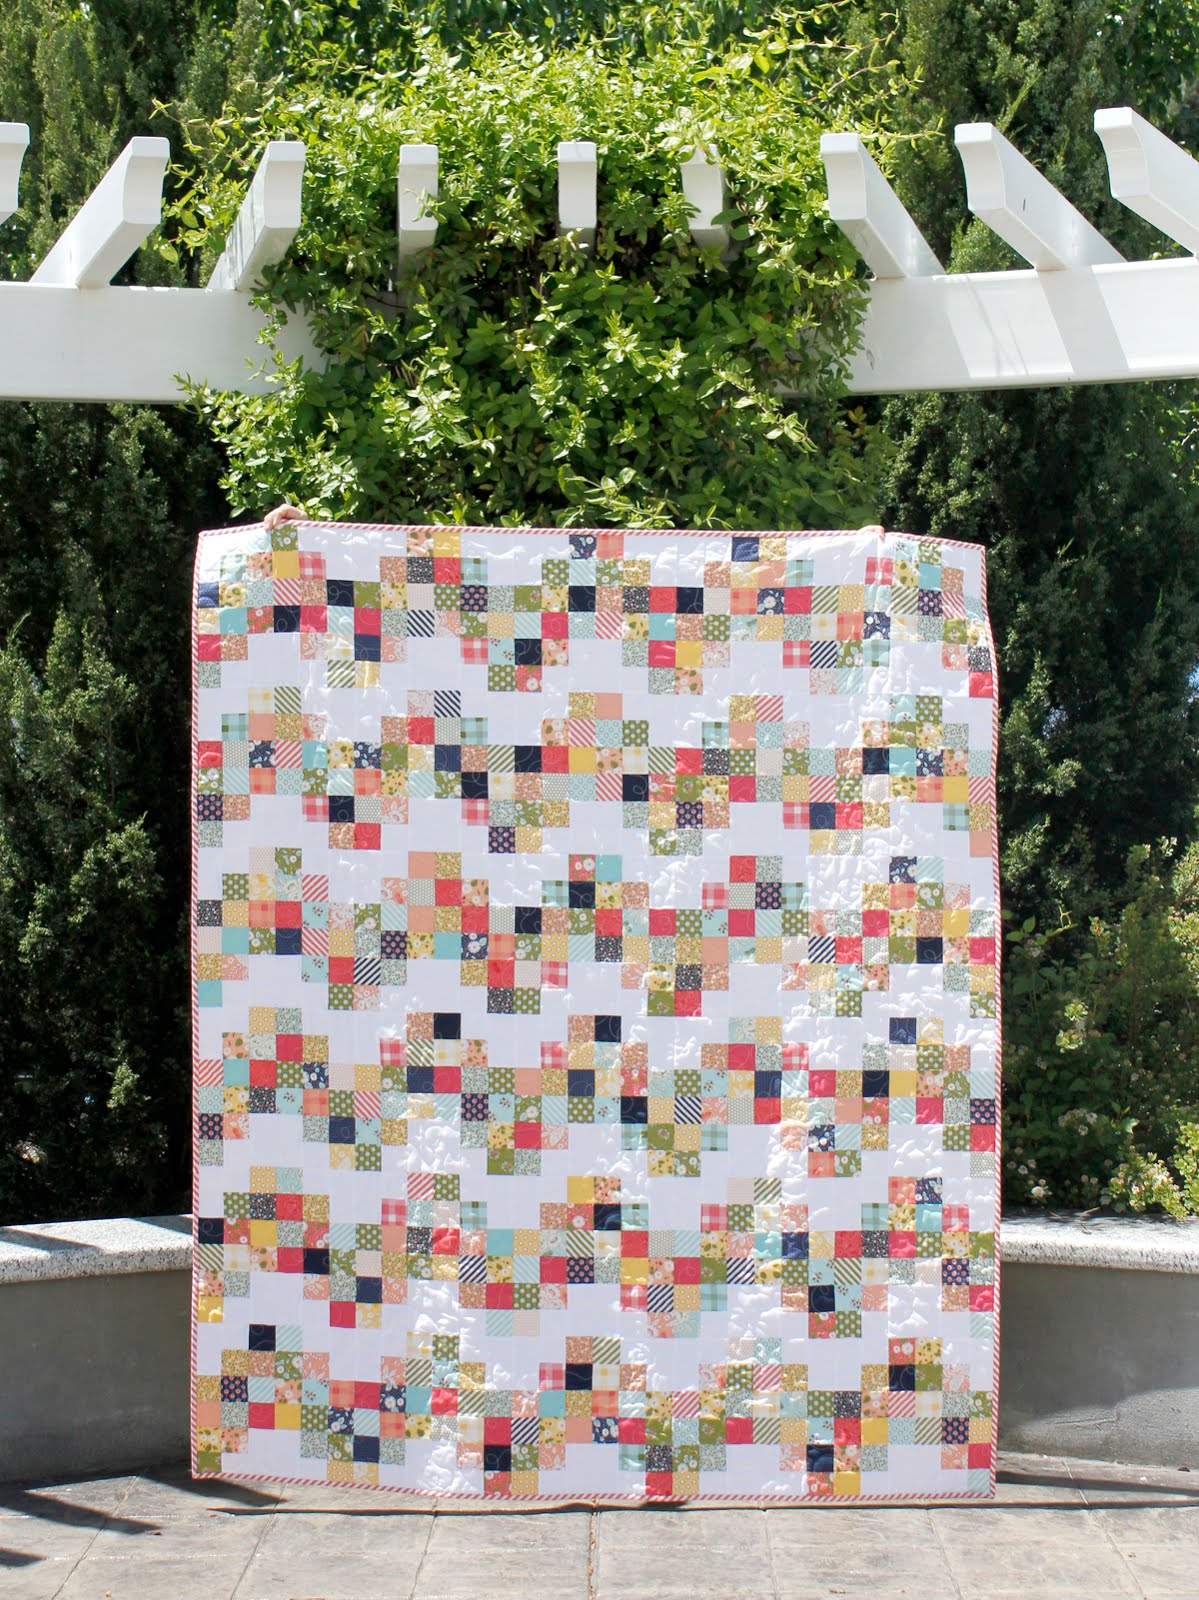
I made 30 blocks to get a throw sized quilt which measures 60" x 72".
Little Miss Sunshine quilt made by A Bright Corner

There's really a lot of options for laying out these blocks - this is just one!  

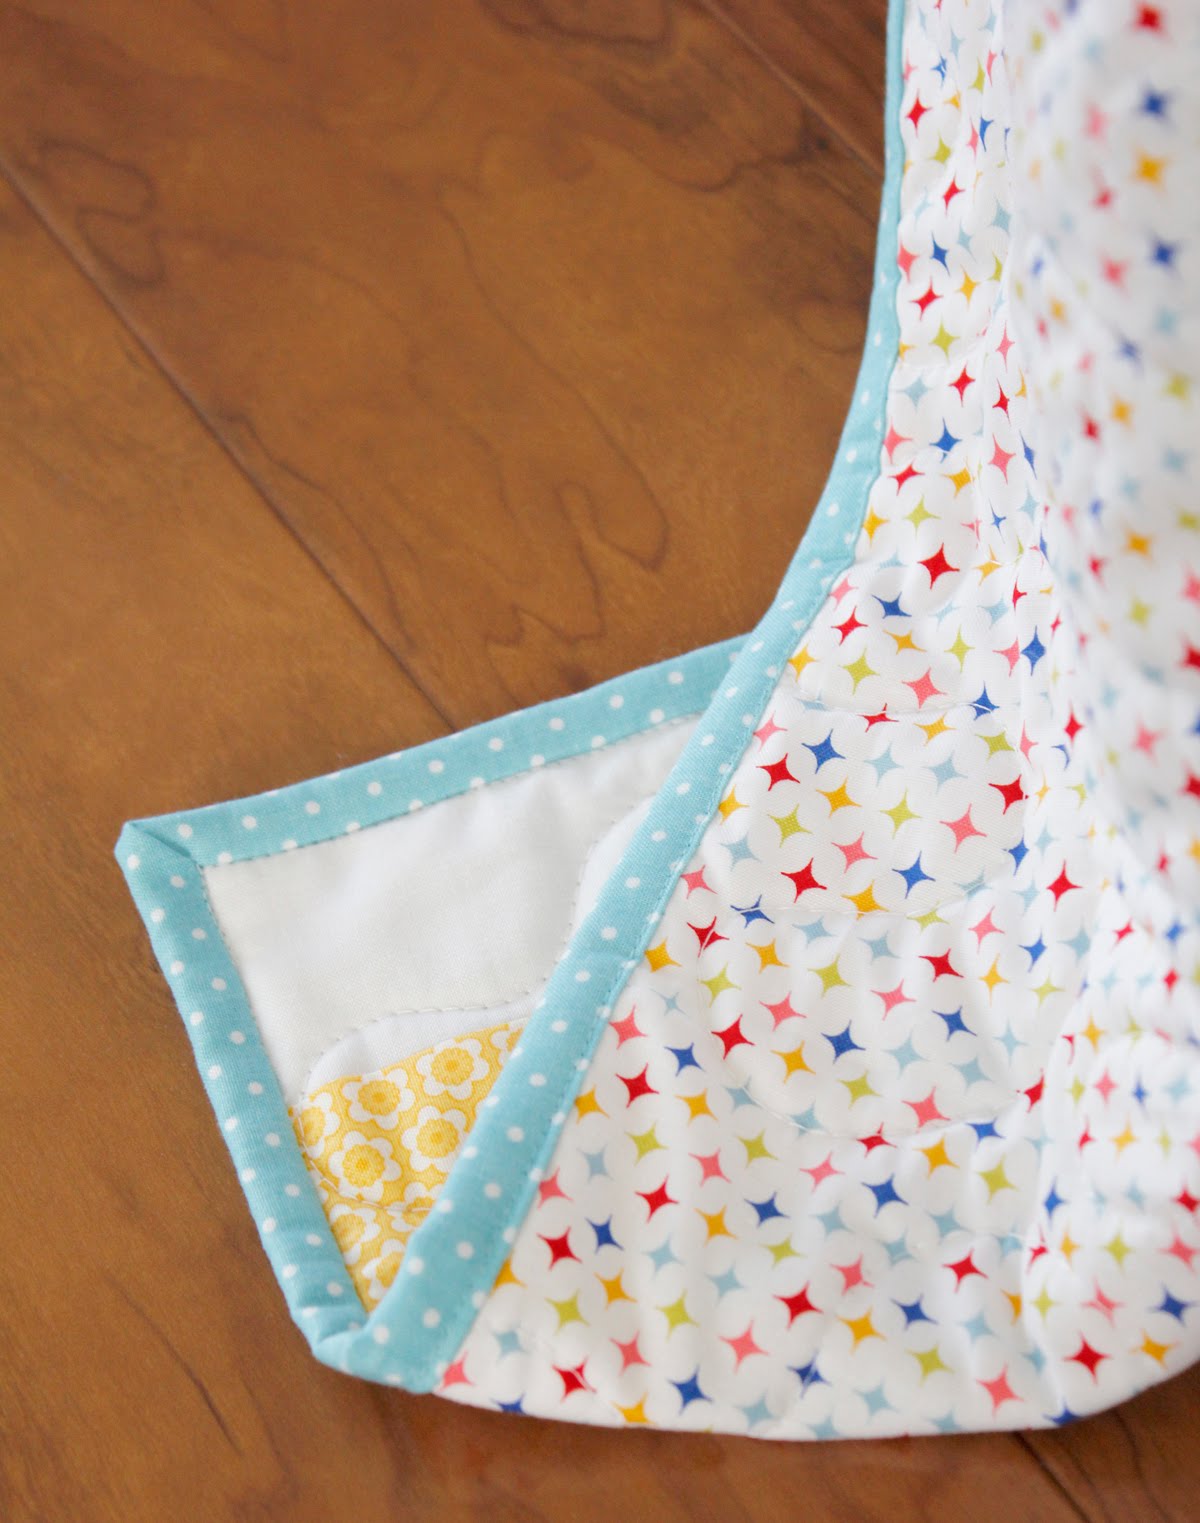
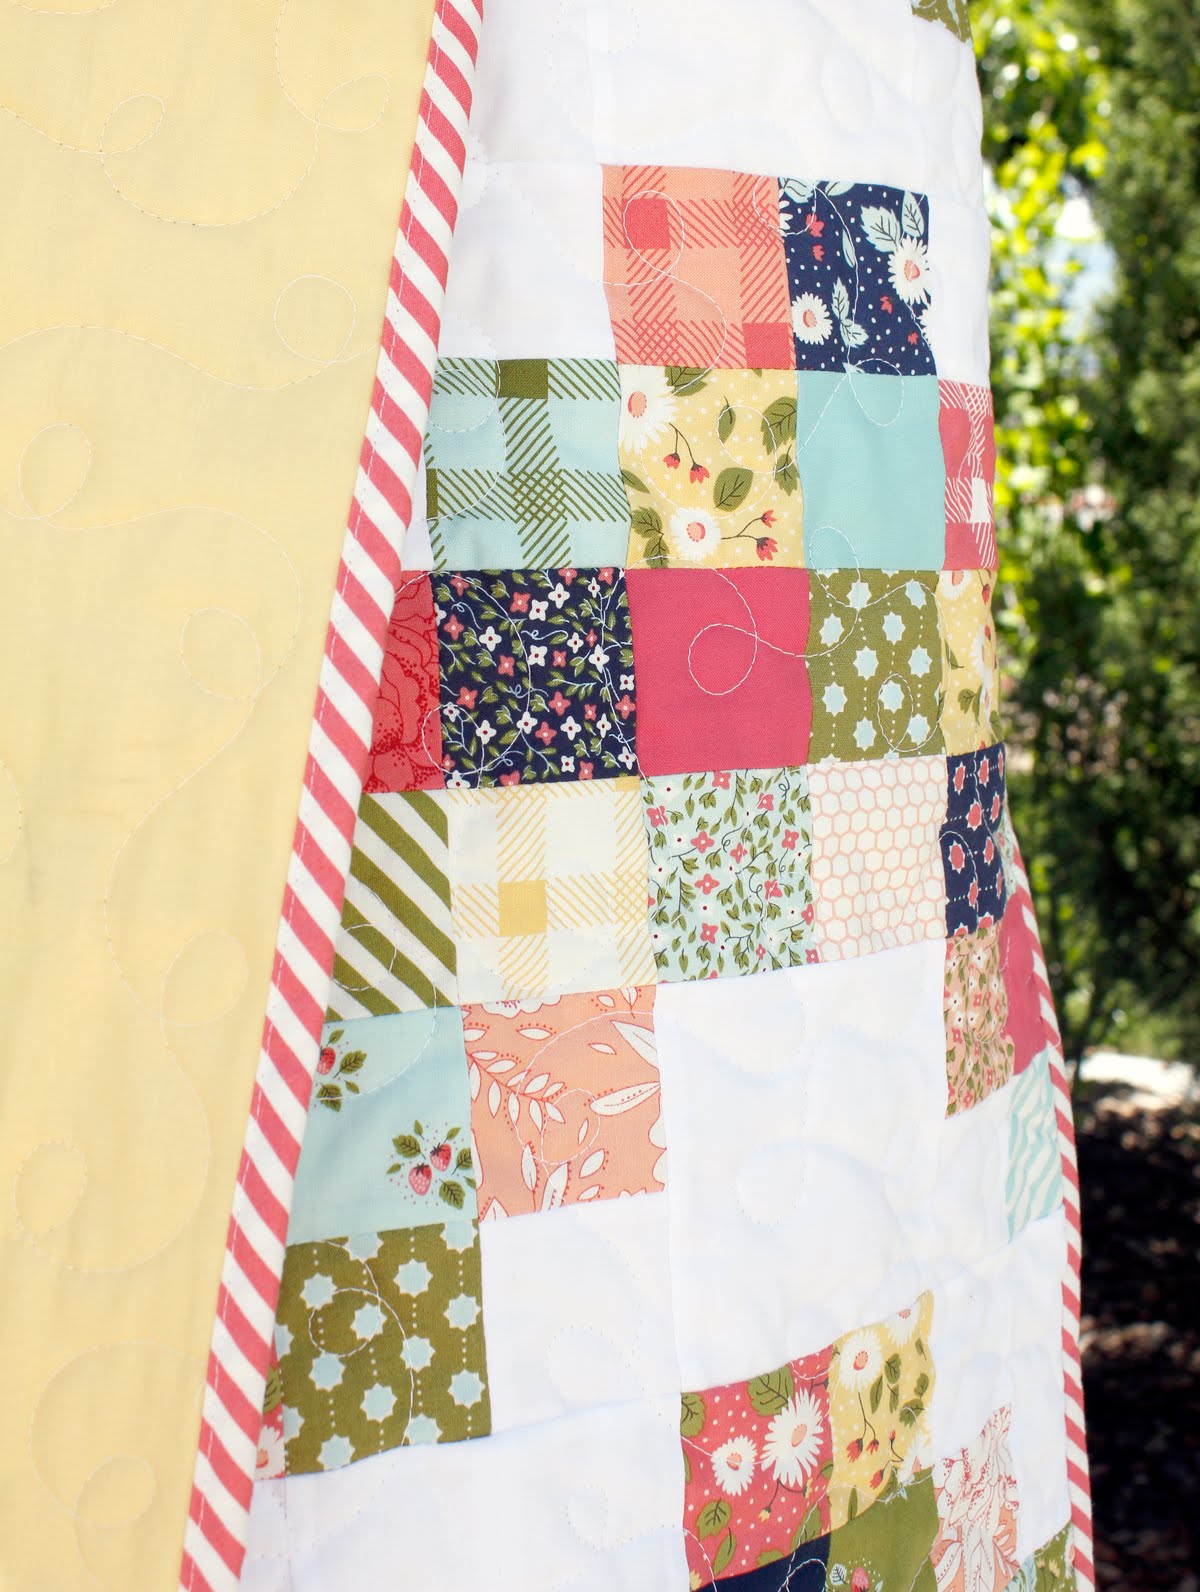
I wanted to soften the lines of this quilt a little so I quilted it in some loops.  You can see a little of the quilting in the photo.  The pretty pink bias stripe I used for the binding is also from the Little Miss Sunshine line.   
Little Miss Sunshine quilt made by A Bright Corner


It's always interesting to me to see how different binding options can change the look of a quilt!  I first tried out a navy bias stripe but it demanded too much attention.  The pink worked much better, and does a nice job of pulling out the pretty pinks and corals in the quilt. 

Little Miss Sunshine fabrics are still available in stores for a bit longer.  You can find it here at the Fat Quarter Shop, here at Southern Fabric, and some bundles here at Westwood Acres.  

And before I forget!  I wanted to announce the winner of the low volume fat quarter bundle from the Fat Quarter Shop - The winner was #61:  Crazy Quilter
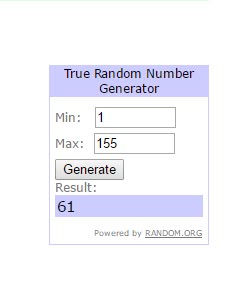

Congratulations Crazy Quilter - and I've sent you an email.  Thank you to the Fat Quarter Shop for sponsoring the giveaway, and thank you to all of you for your comments!
Wednesday, June 8, 2016

Desert Bloom Quilt


Hi everyone!  Over the past couple of weeks I've been working on a fun quilt, using the new fabrics from Amanda Herring - called Desert Bloom.  (You can see all of the prints here)

Today is day 3 of the Desert Bloom blog tour, which means I get to finally share what I've been working on!


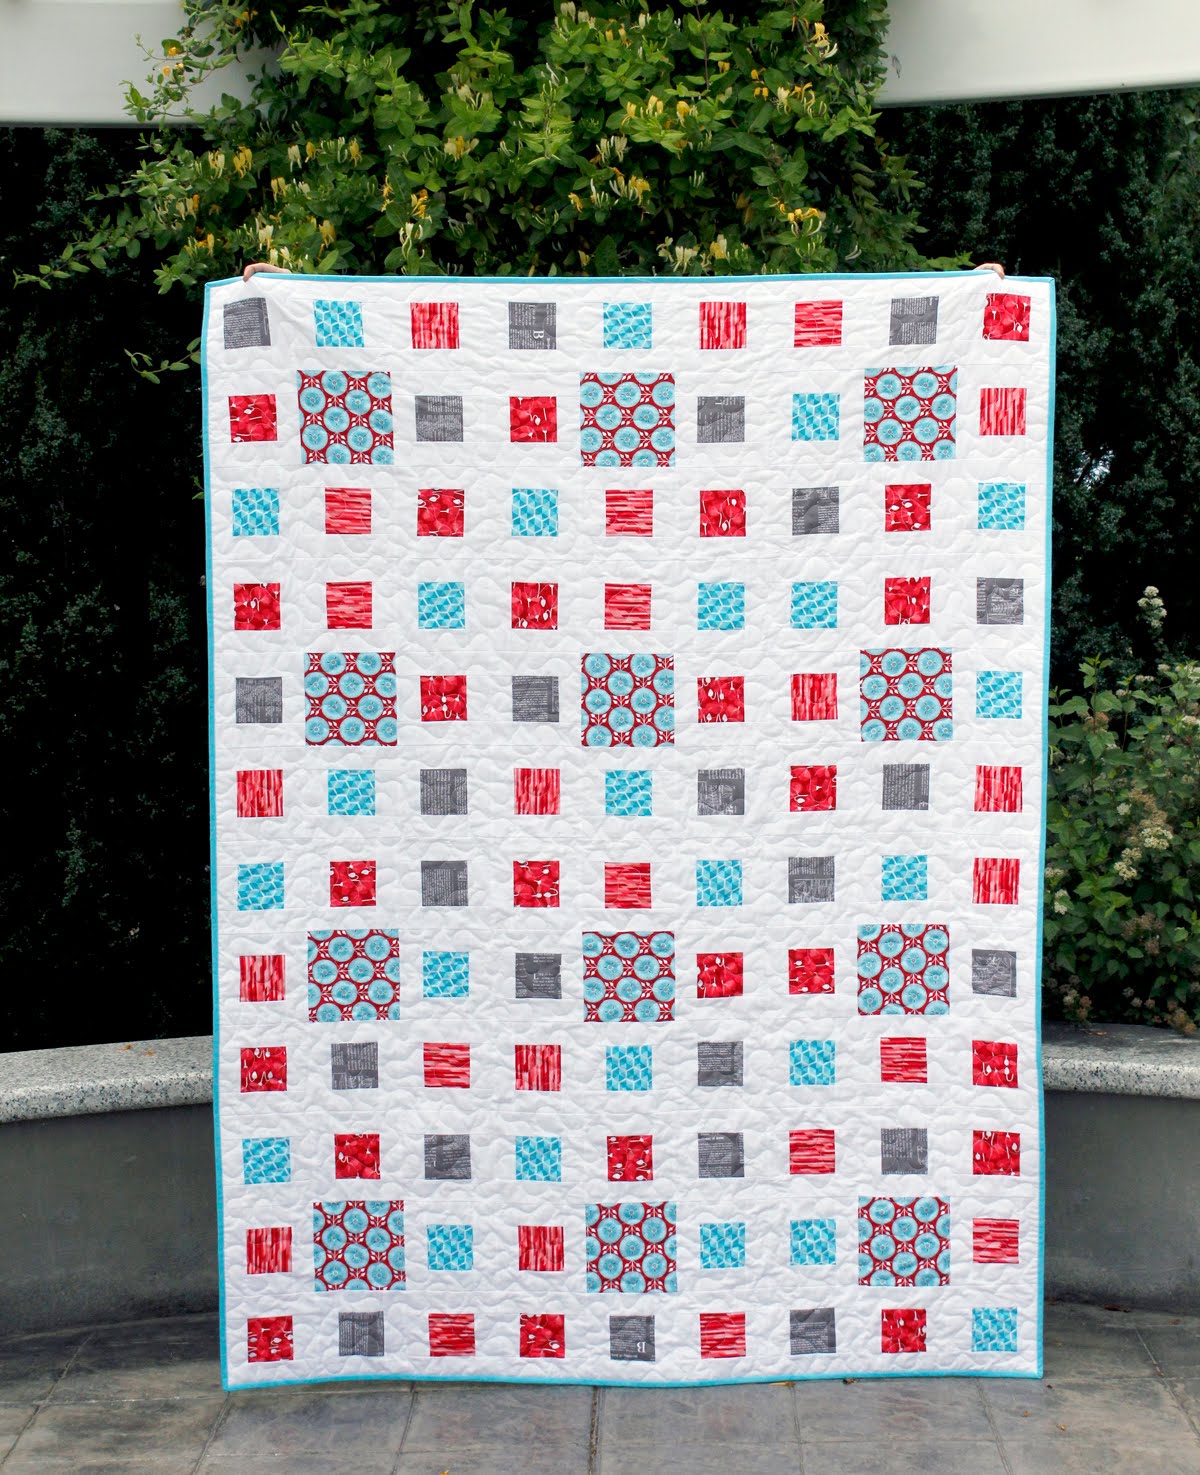
Fractals quilt made using the new Desert Bloom fabrics from Riley Blake

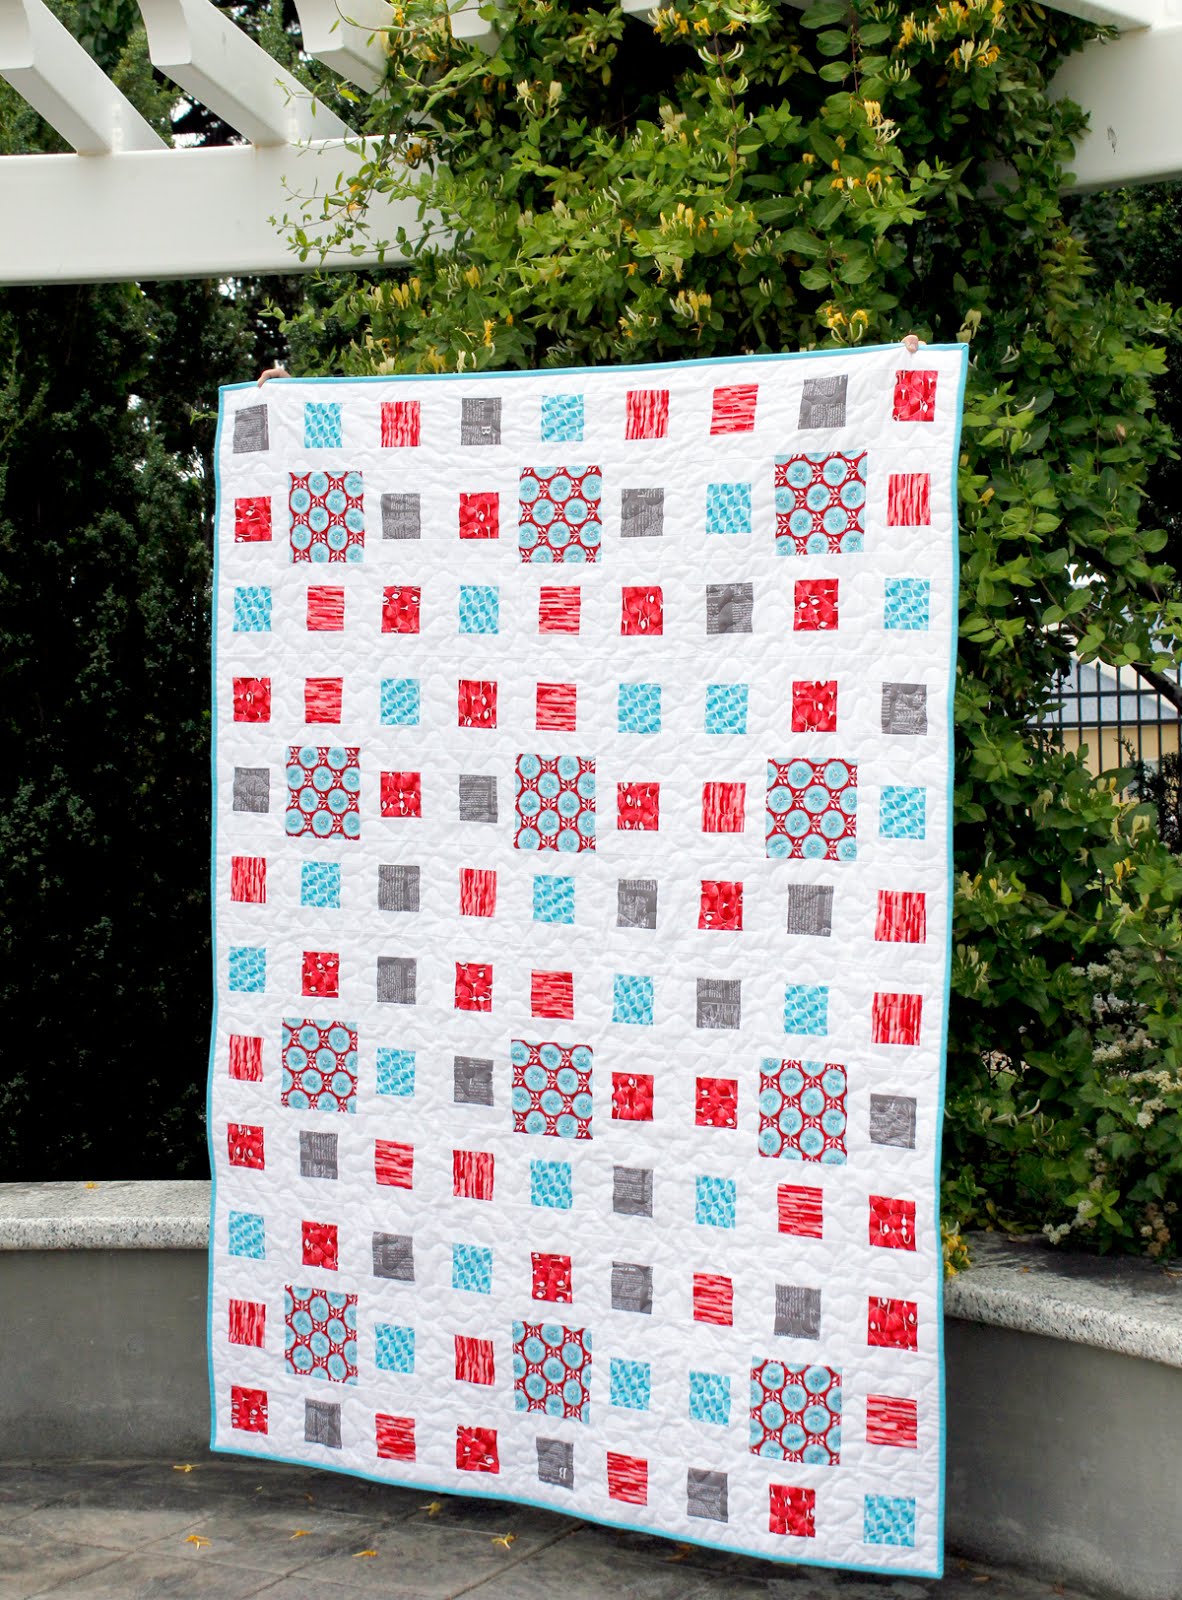
This is my Fractals quilt - I chose my favorite print from the line to use for the large squares, and then I picked some great coordinating prints to surround them.  I love combining florals with geometric prints.

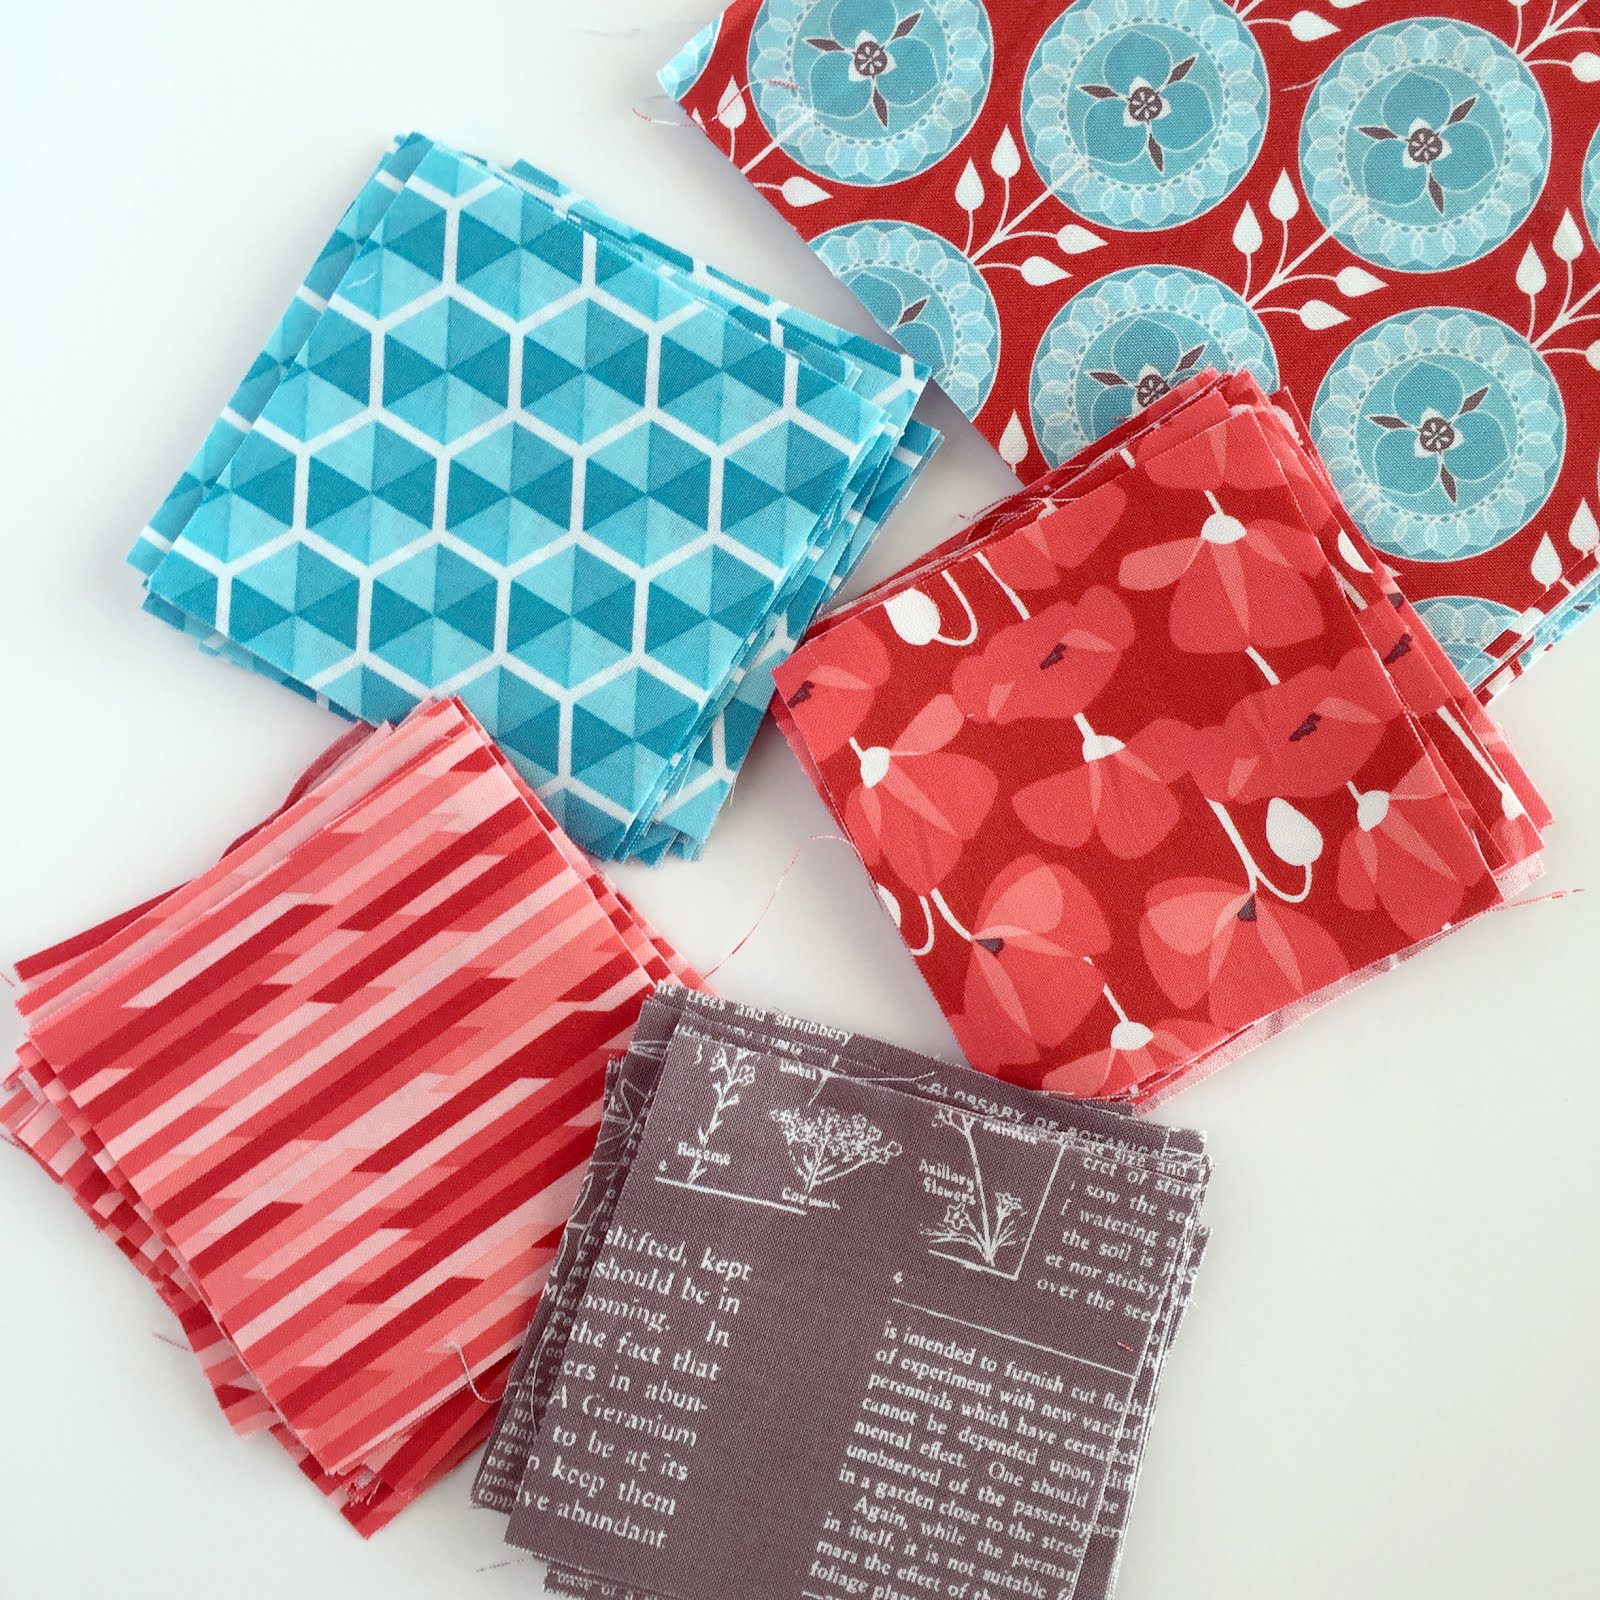
 I also really love the rich reds in this fabric line, and you know I can't pass up a good text print!  The text print comes in gray (used in my quilt), pink, and white.  Desert Bloom fabrics are available now in stores, and online here at Fat Quarter Shop and here at Hawthorne Threads.  

Desert Bloom fabrics from Riley Blake, designed by Amanda Herring


This Fractals quilt I made is actually a re-boot of one of the first patterns I ever designed!  


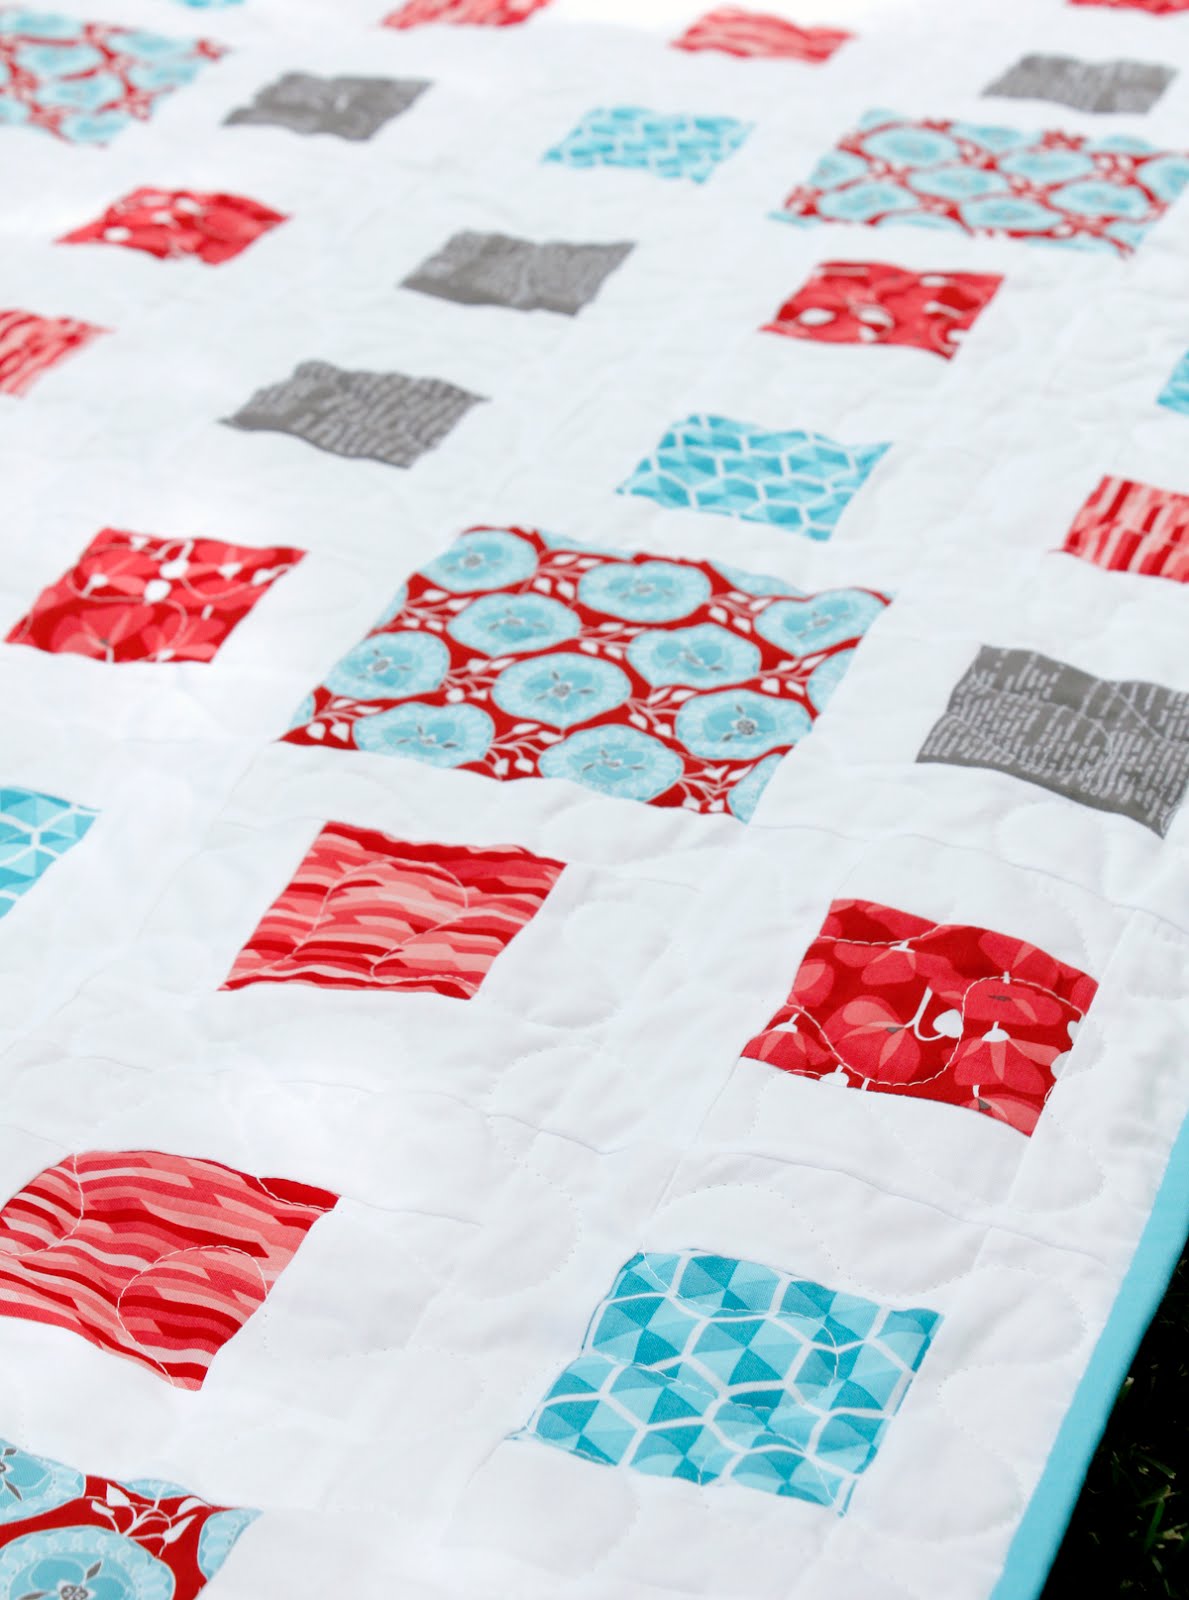
Fractals quilt made using the new Desert Bloom fabrics from Riley Blake.  Blog post has link to the pattern!

I cleaned up the pattern a little, made some new diagrams and added another size option to the instructions.  It now has four sizes available! (baby, throw, twin and queen)  You can find PDF (instant download) patterns of Fractals here in my pattern shop.  


Fractals quilt made using the new Desert Bloom fabrics from Riley Blake.  Blog post has link to the pattern!

And you can follow along on the rest of the blog tour, and see what everyone is creating with Desert Bloom, by following the links below!

Oh and before you go...the low volume fat quarter bundle giveaway from last week is still open so be sure to click here and leave a comment to be entered to win!  

June 6th

June 7th

June 8th

June 9th

June 10th

June 13th

June 14th

June 15th

June 16th

June 17th

June 18th


Wednesday, May 11, 2016

Backyard Roses Blog Tour + free quilt pattern


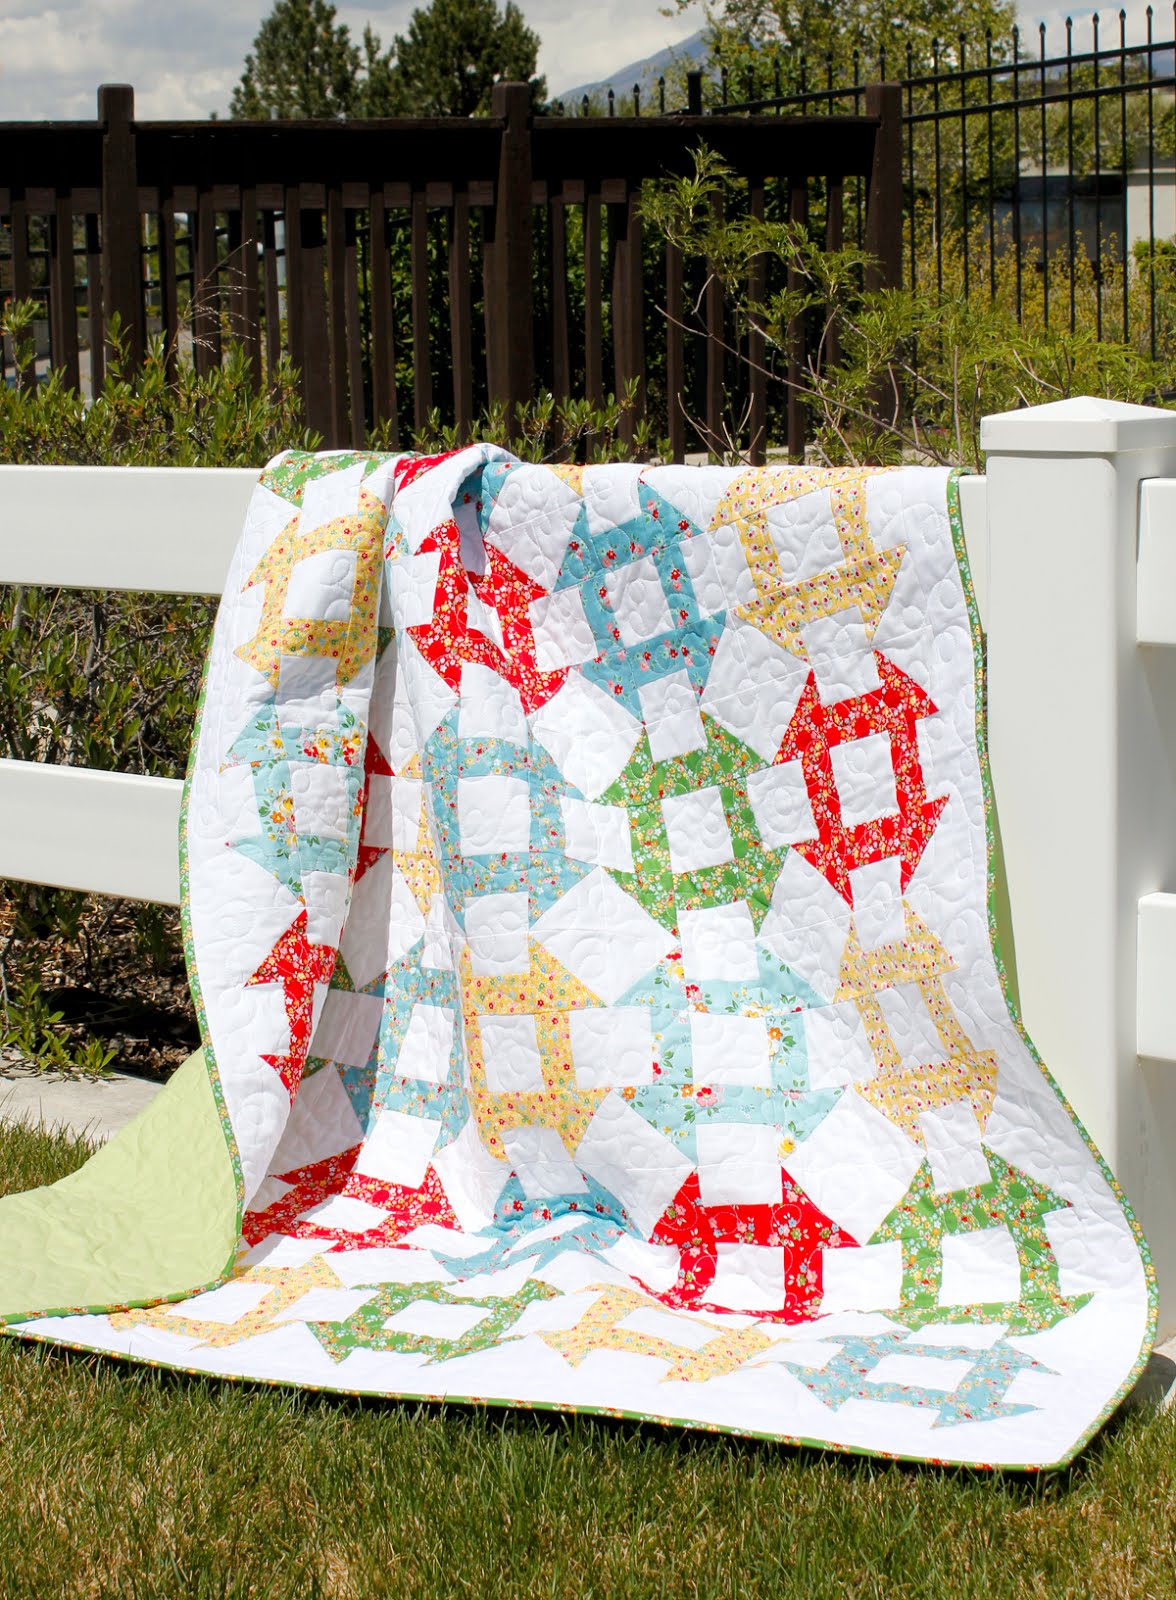
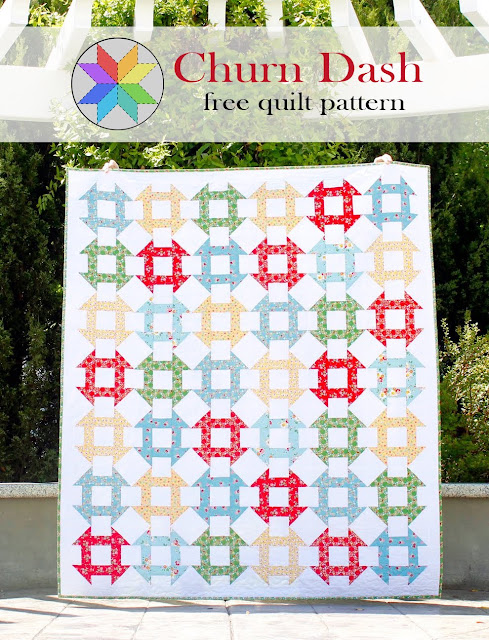
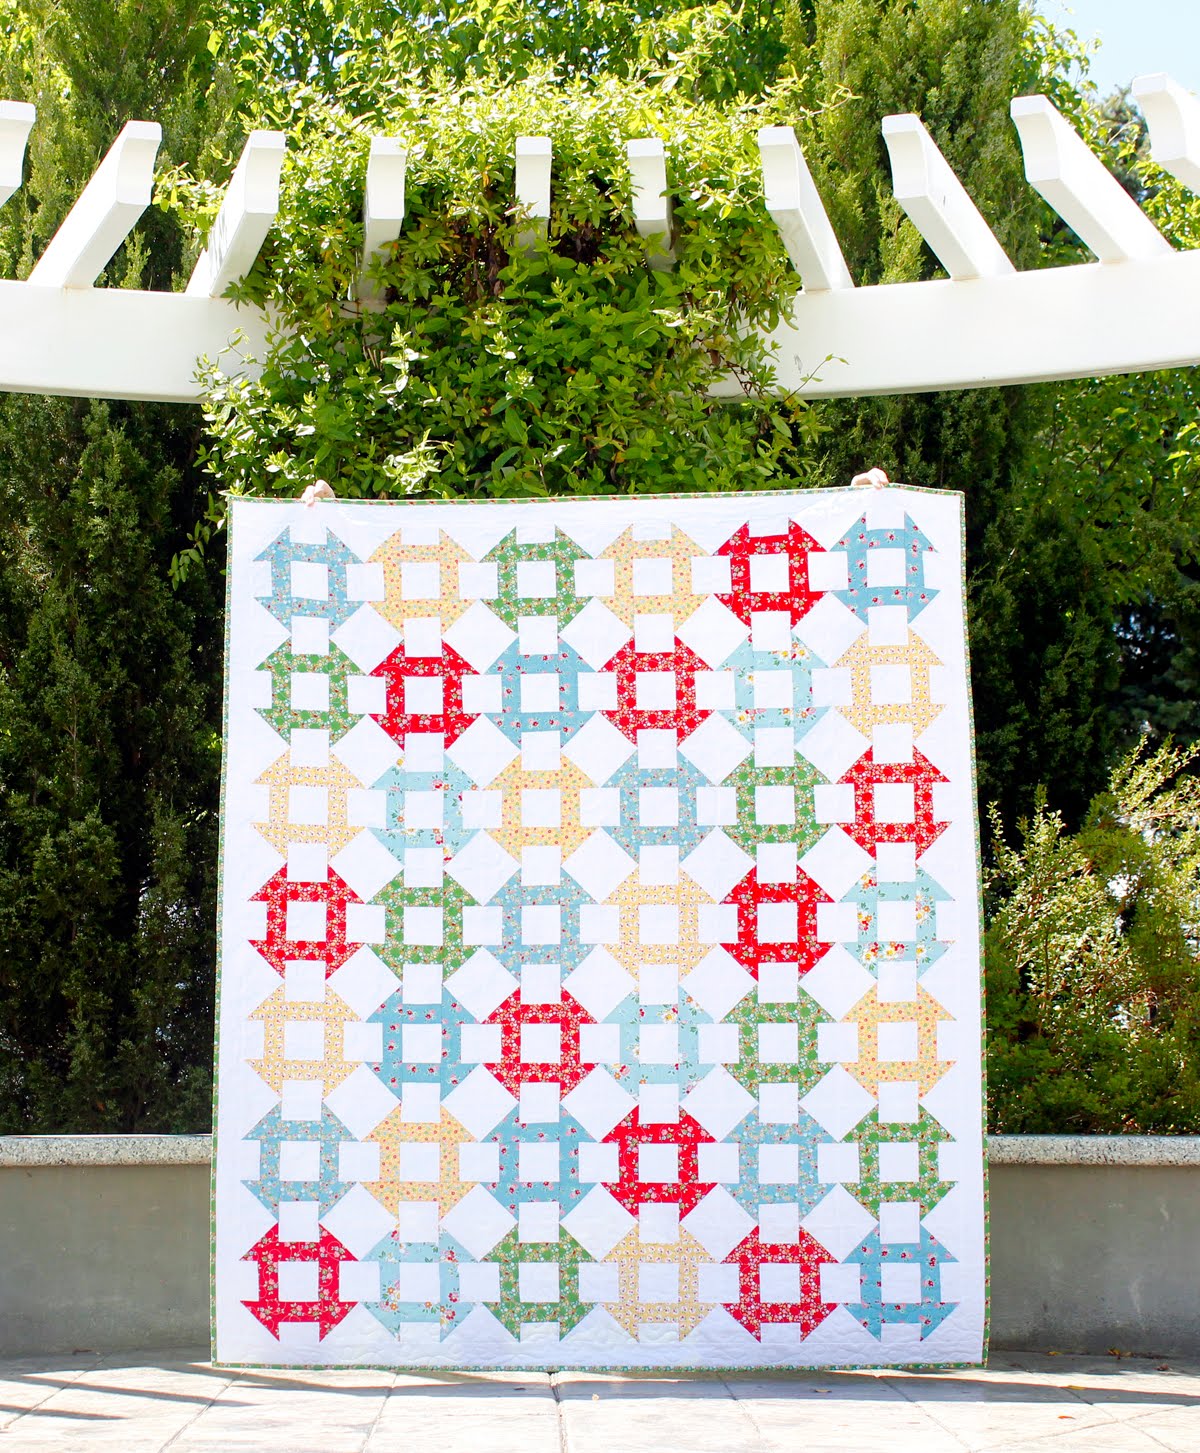
Churn Dash Quilt from A Bright Corner

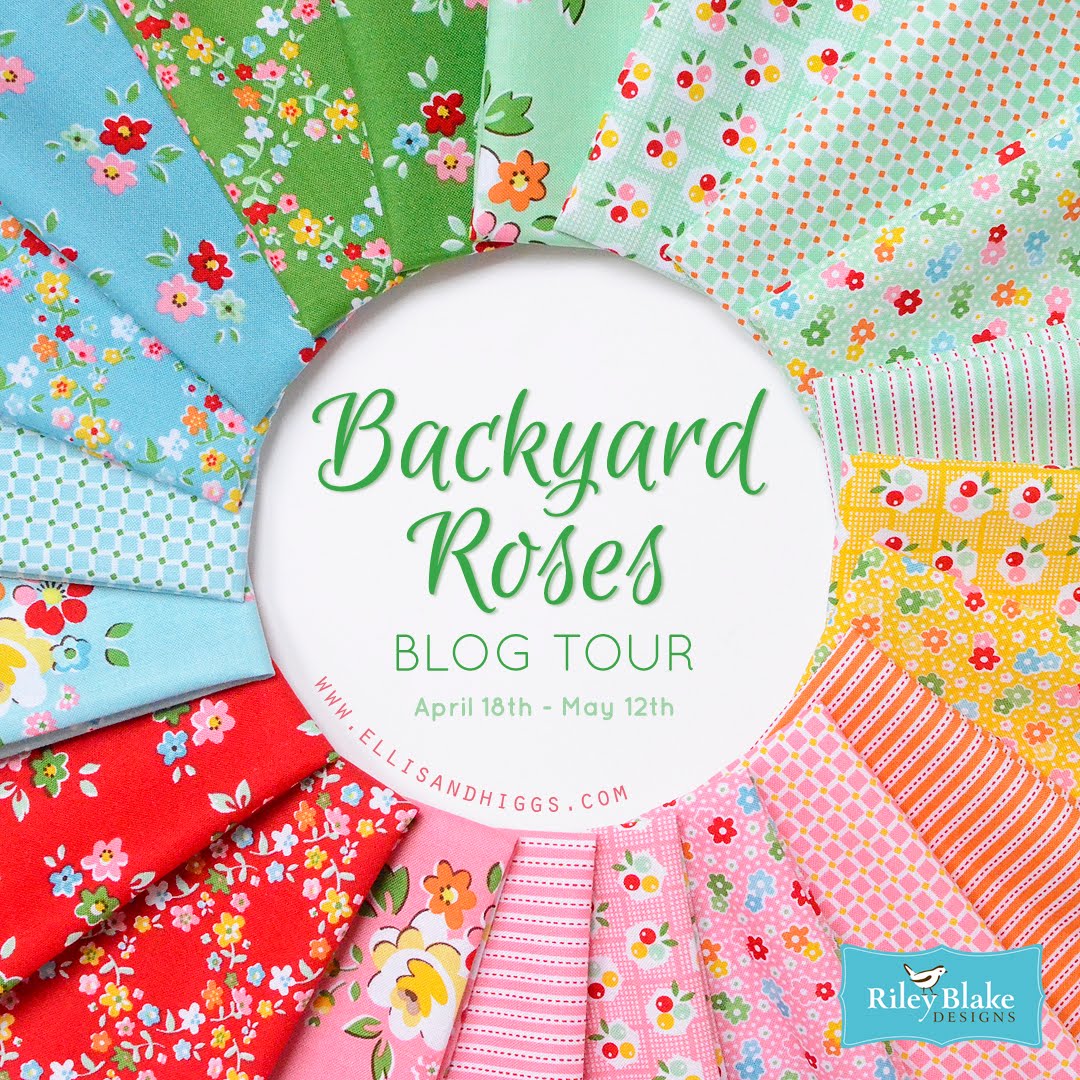
Hi everyone and welcome to my stop on the Backyard Roses blog tour.  Backyard Roses is the newest fabric line designed by Nadra Ridgeway (www.ellisandhiggs.com) for Riley Blake.  It's a charming line, filled with happy colors and sweet flowers.  


Backyard Roses fabric blog tour


I've had a classic churn dash quilt on my wish-list for a couple of years now and when I saw Backyard Roses I KNEW it would be perfect!    The small scale florals really shine when used in small blocks like this. 


Churn Dash quilt made by A Bright Corner - link to free pattern!

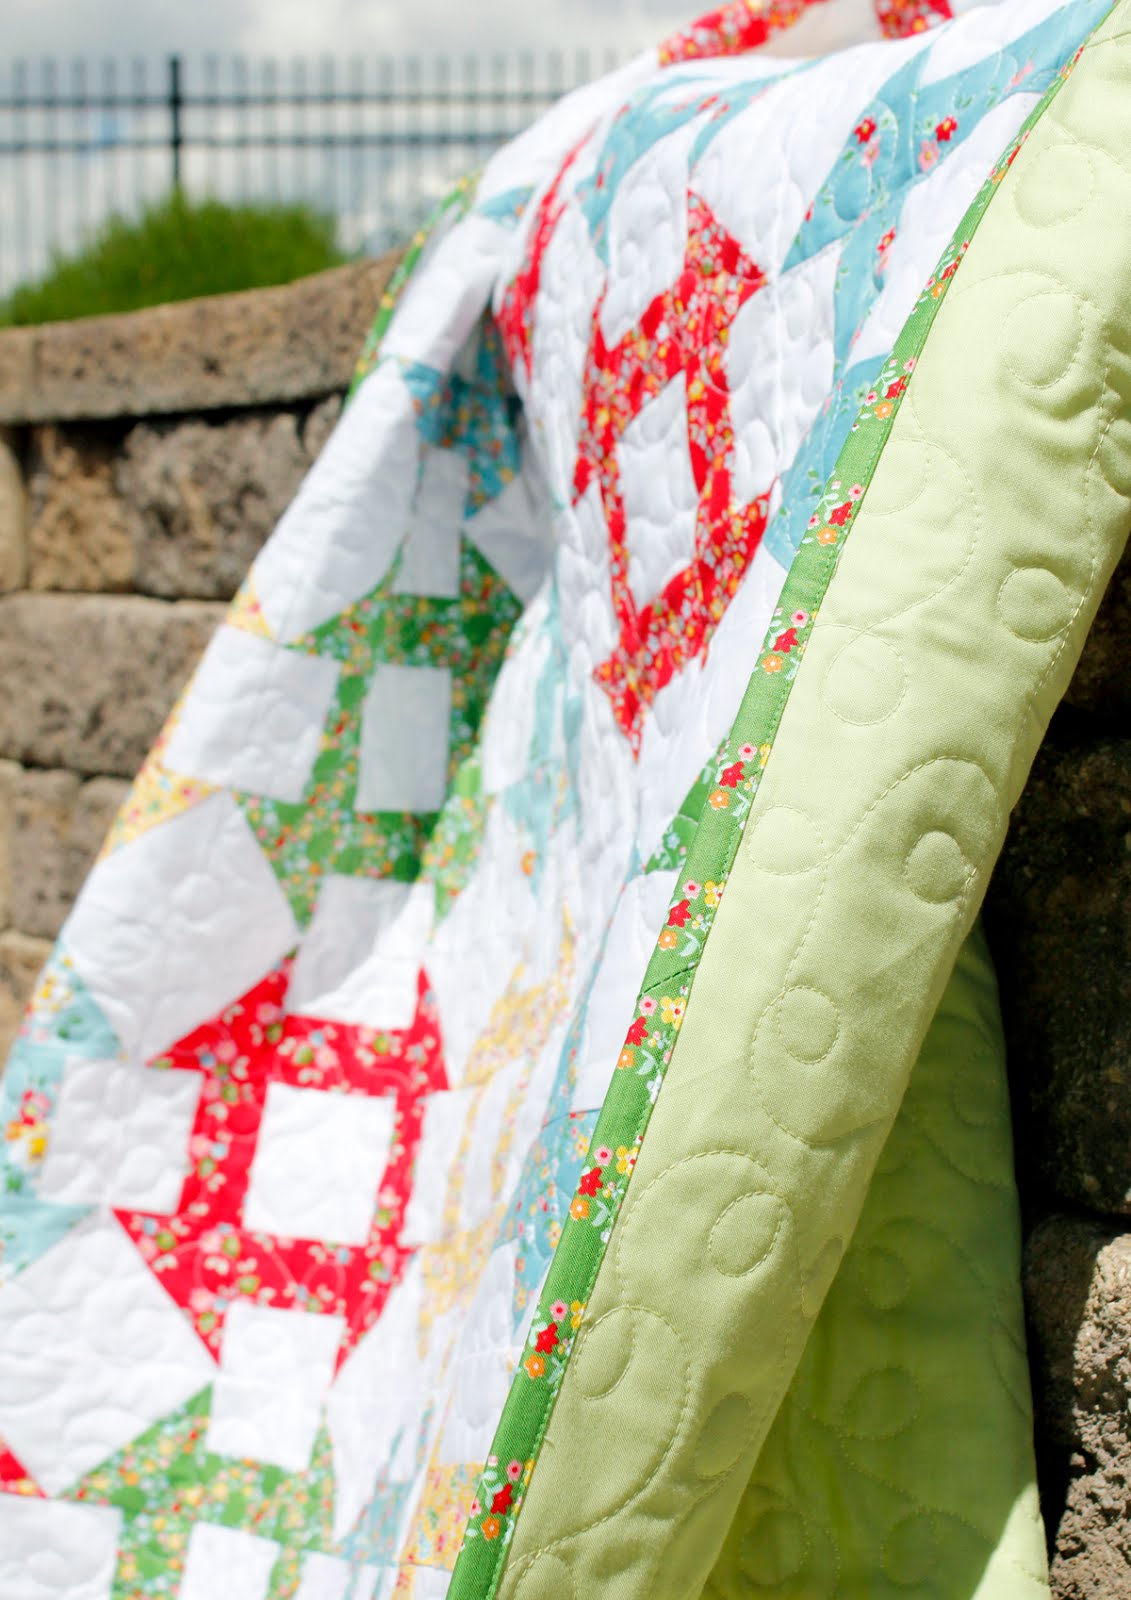
I selected just a few of the colors from the range.  Can't go wrong with the primary colors, right?  Well, primary colors + green ;)    The line also includes a pretty pink and a fresh mint color.  I quilted it with some medium sized loops, and I backed the quilt in a solid green.  I used my most favorite green print from the line as the binding.  I can't get enough of that green!   


Churn Dash quilt made by A Bright Corner - link to free pattern!

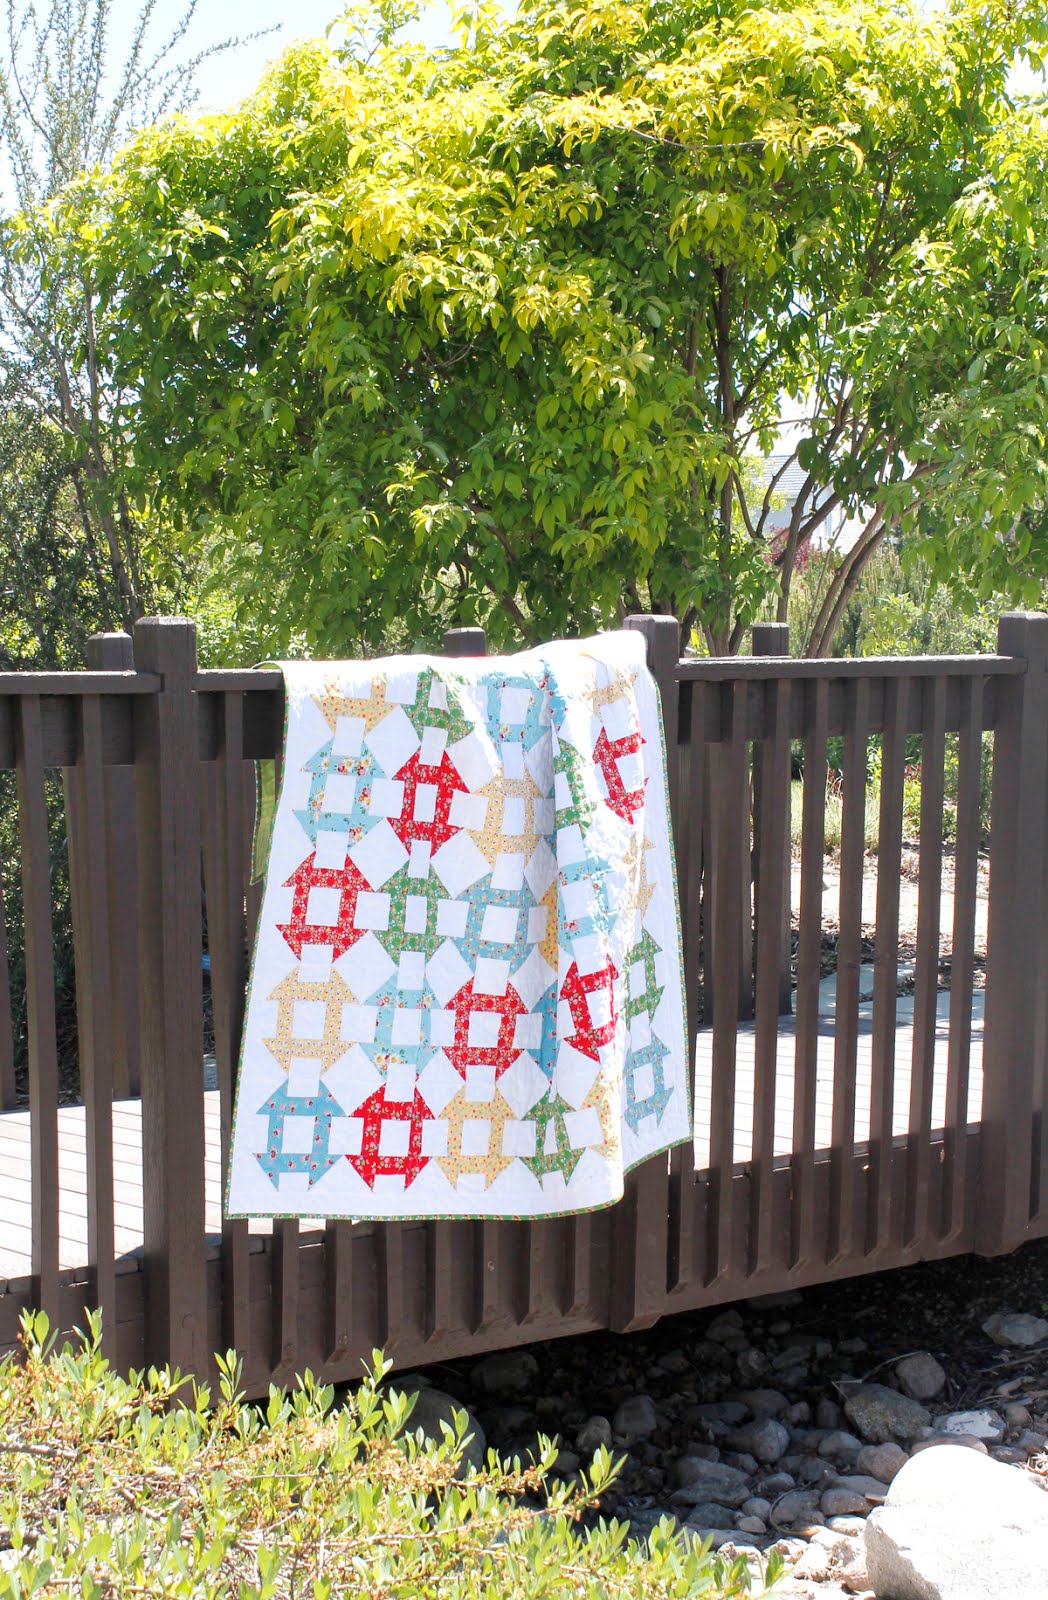
The finished quilt measures 59" x  68"

How 'bout a free quilt pattern?  Click here to download and print the pattern to make your own Backyard Roses churn dash quilt.  [For personal use only]

Churn Dash quilt made by A Bright Corner - link to free pattern!

Here are the links to the other stops on the tour.  Click on the links to see the other projects.  You can find Backyard Roses in stores now - here at the Fat Quarter Shop, here on Westwood Acres, and here at Pink Castle Fabrics.


4/18/2016Juliarileyblakedesigns.com/blog
4/19/2016Christinaonelittlepooh.net
4/20/2016Dorthelalala-patchwork.blogspot.com
4/21/2016Lizsimplesimonandco.com
4/22/2016Sedefdowngrapevinelane.com
4/23/2016Vickyvenividivicky.wordpress.com
4/25/2016Erinwhynotsew.blogspot.com
4/26/2016Amandawww.jedicraftgirl.com
4/27/2016Gesineallie-and-me-design.blogspot.com
4/28/2016Petashequiltsalot.com
4/29/2016Sharonlilabellelane.blogspot.com
4/30/2016Barbaradas-mach-ich-nachts.com
5/2/2016Jemimatiedwitharibbon.com
5/3/2016Ashleymommybydaycrafterbynight.com
5/4/2016Taunjacarriedawayquilting.blogspot.com
5/5/2016Judithseptembersquiltdelight.blogspot.com
5/6/2016Melissaohhowsweet.com
5/7/2016Ivaschnigschnag-quiltsandmore.com
5/9/2016Lisaaspoonfulofsugardesigns.com
5/10/2016Katharinagreenfietsen.blogspot.com
5/11/2016Andyabrightcorner.blog
5/12/2016Nadraellisandhiggs.com


Churn Dash free quilt pattern from A Bright Corner


Tuesday, May 3, 2016

Bright Baby Quilt

We all make mistakes, right?  Well, this quilt is completely made from mistakes!  And the weird thing is, I don't hate it.

A couple of years ago I was at a retreat and had brought everything I needed to make a queen sized Hello Washi Quilt.  I was having a great time visiting with friends as I cut my blocks out and began chain piecing.

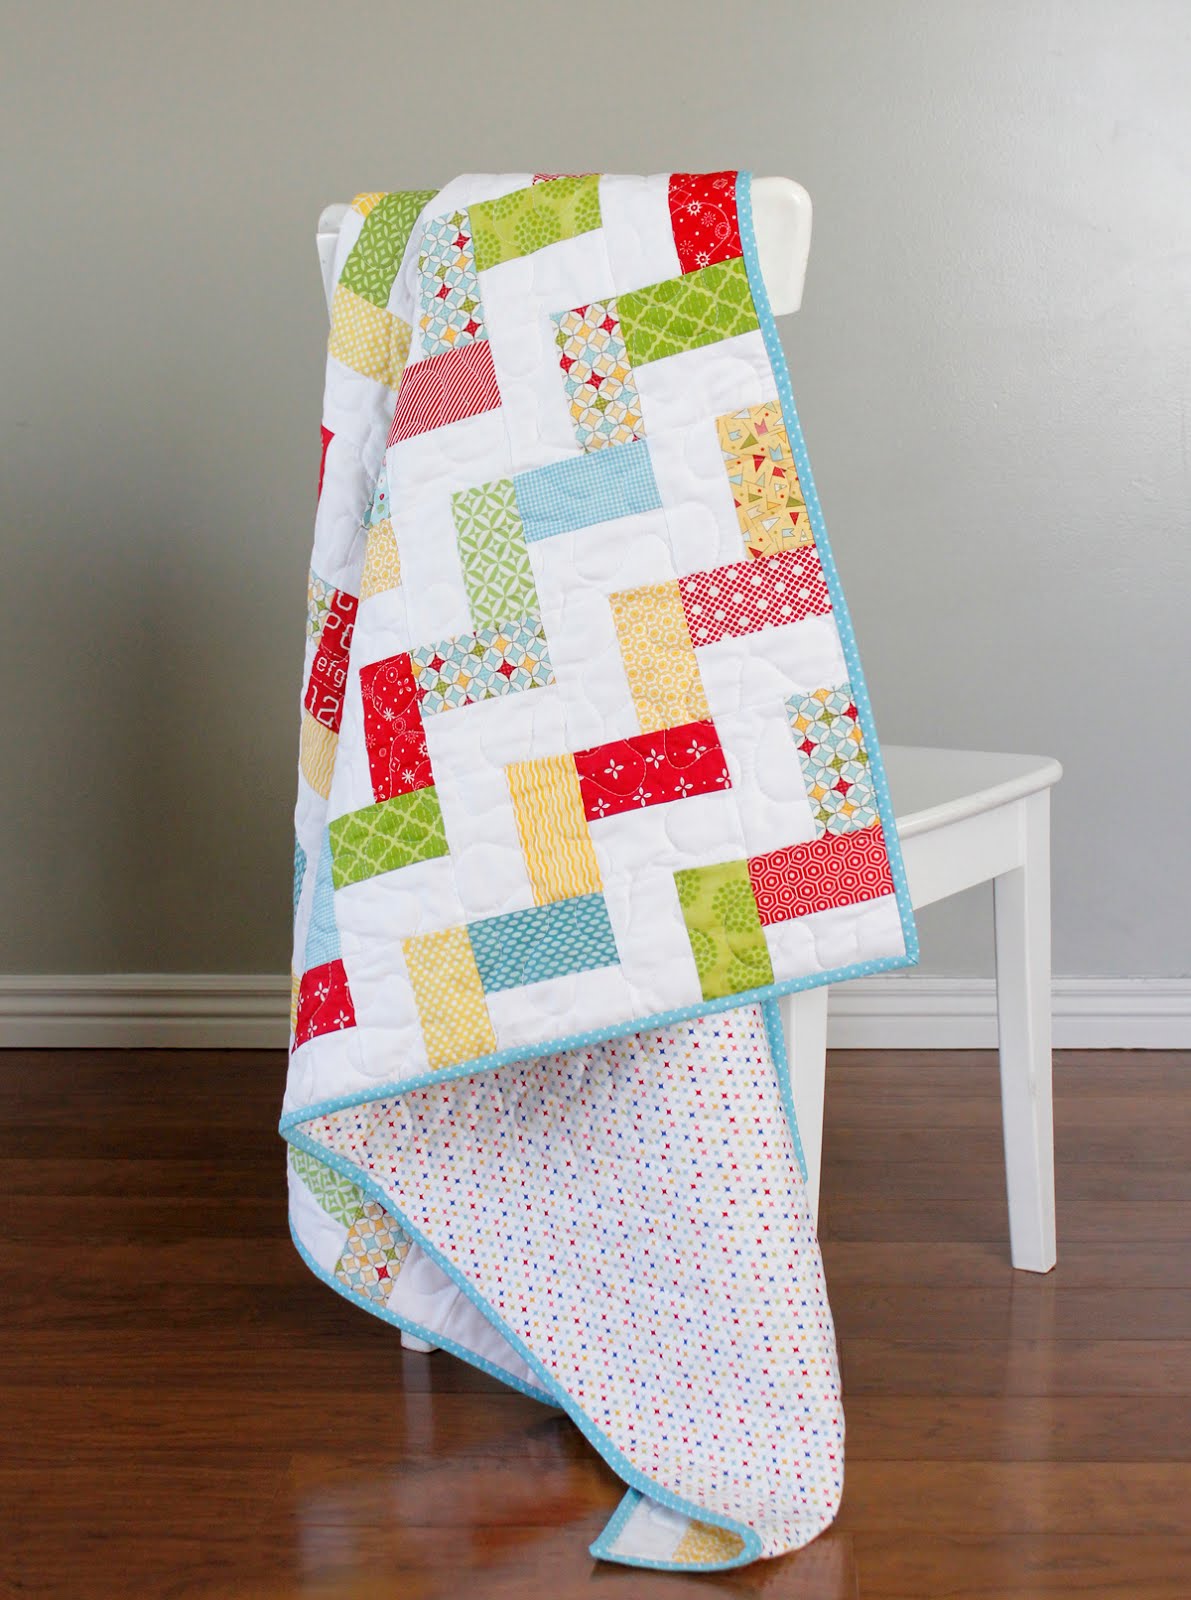
Bright Baby Quilt made by A Bright Corner

When it was time to put my first big block together I came to an awful realization.  I had messed up BIG TIME.  I had cut about 150 white strips too narrow.  By the time I realized it, I had already sewn each too-thin white strip to a print rectangle.  Ugh.  So now what??

My options at this point were to sit and unpick 150 seams and start completely over, OR  I could set aside the mistake blocks and move on.  After thinking about it (for maybe 10 seconds) I decided to save the mistakes for later and move on.  It wasn't a tough decision - I'm not a huge fan of my seam ripper!  So I put this quilt away and worked on something else for the rest of the retreat.

Bright Baby Quilt made by A Bright Corner

When I got home I stashed the mistake blocks away to work on another time.  I pulled them back out a month or so ago and put them all up on my design wall to see what I could make from them.

Bright Baby Quilt made by A Bright Corner


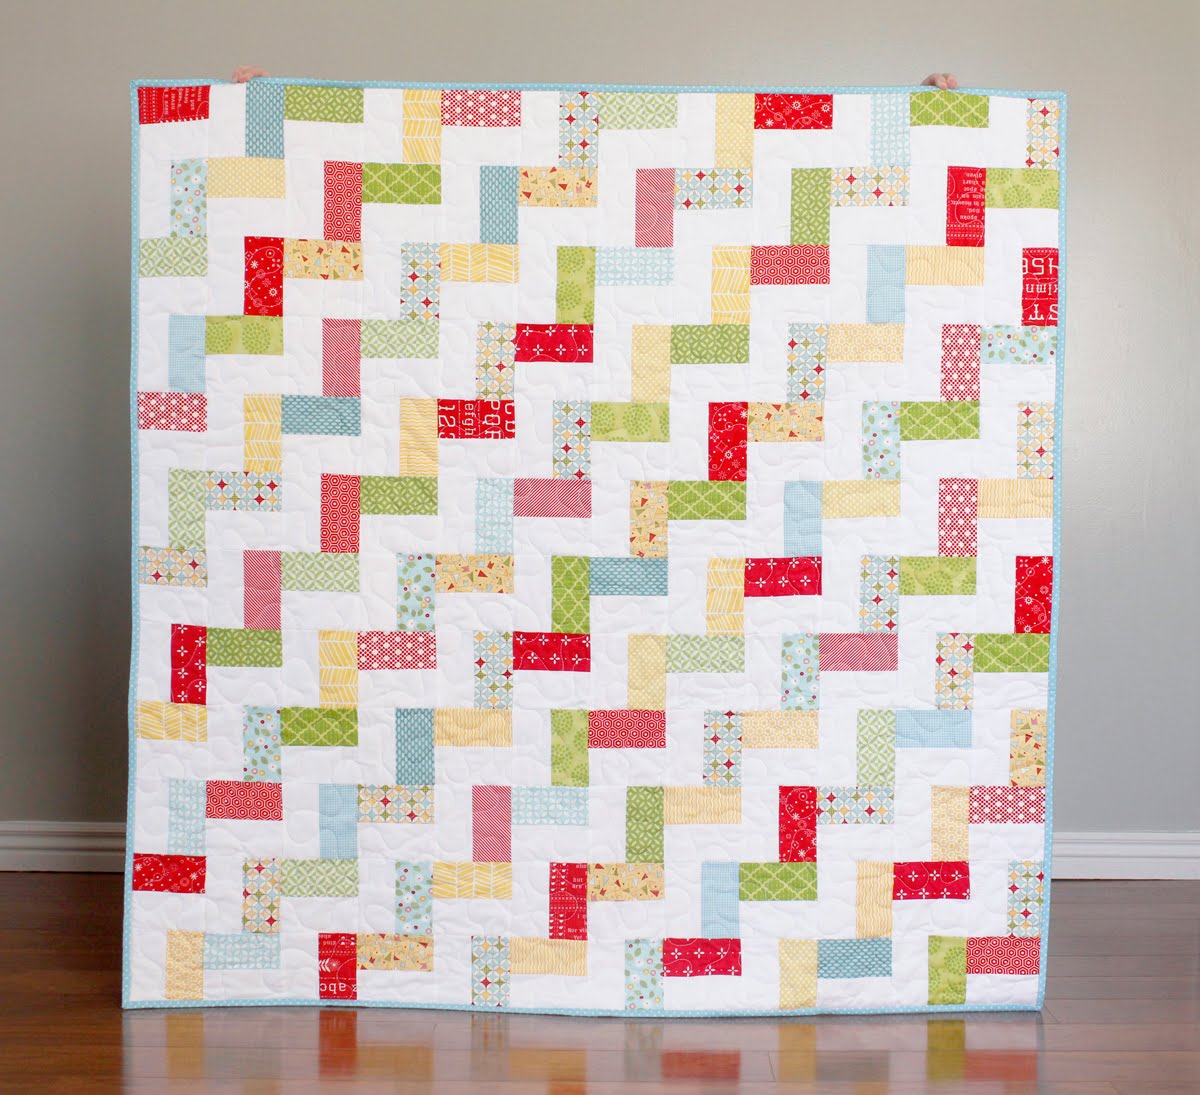
This baby quilt is the result - not bad, eh?  Talk about making lemonade out of lemons!

That's probably one of the worst mistakes I've ever made.  How about you?  What's the worst quilting mistake you've made?

Edited to add:  Want to make your own?  Find a link to the free PDF pattern here on this post. 


Bright Baby Quilt made by A Bright Corner

Quilt details:
48" x 48"
fabrics:  various prints from my stash


Wednesday, March 16, 2016

Vintage Kitchen

A few weeks ago I got the chance to sew with fabric from one of Riley Blake's newest fabric lines - called Vintage Kitchen.  It's designed by Andrea Muller (JoliJou) a talented graphic designer & blogger from Germany.

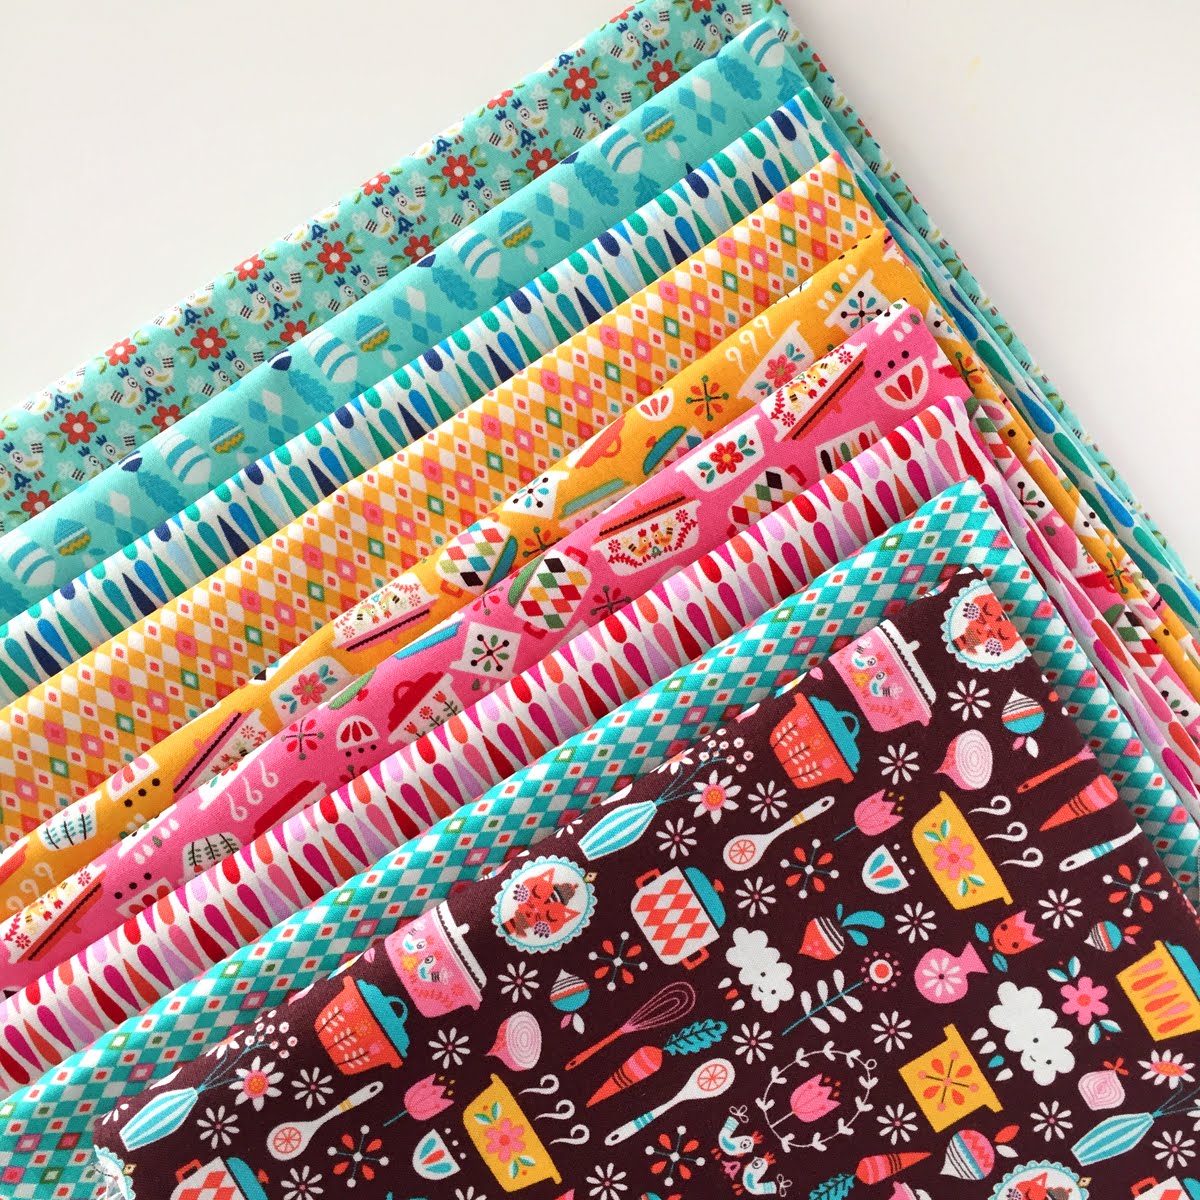
These are just a few of the prints in the line - I'm in love with the pink dishes, but my favorite print is that brown print on top!  Isn't it fun?  

Vintage Kitchen fabrics from Riley Blake


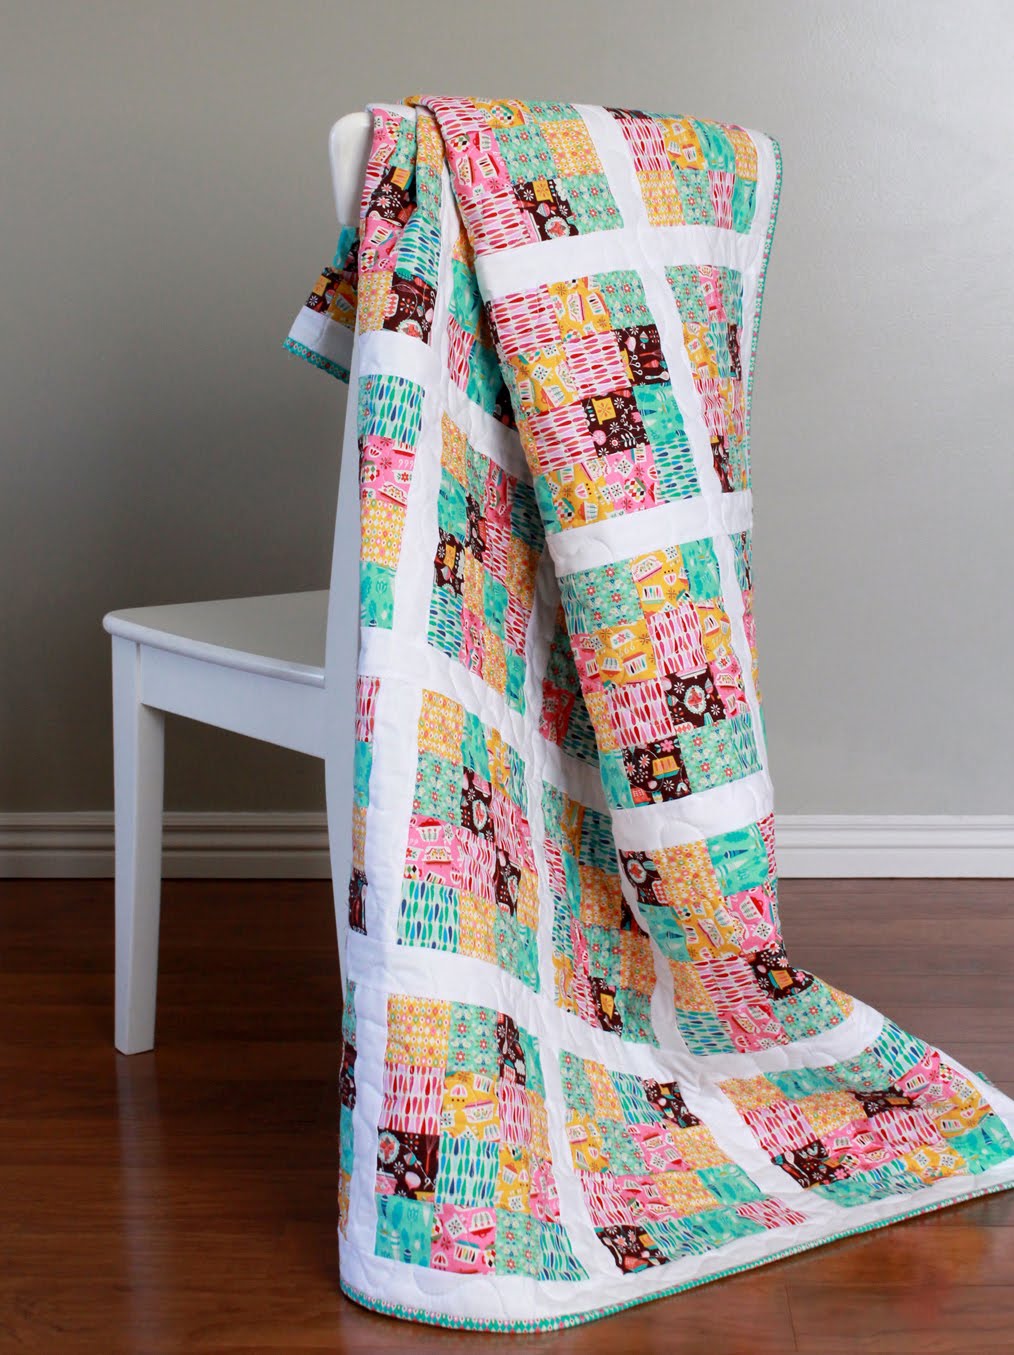
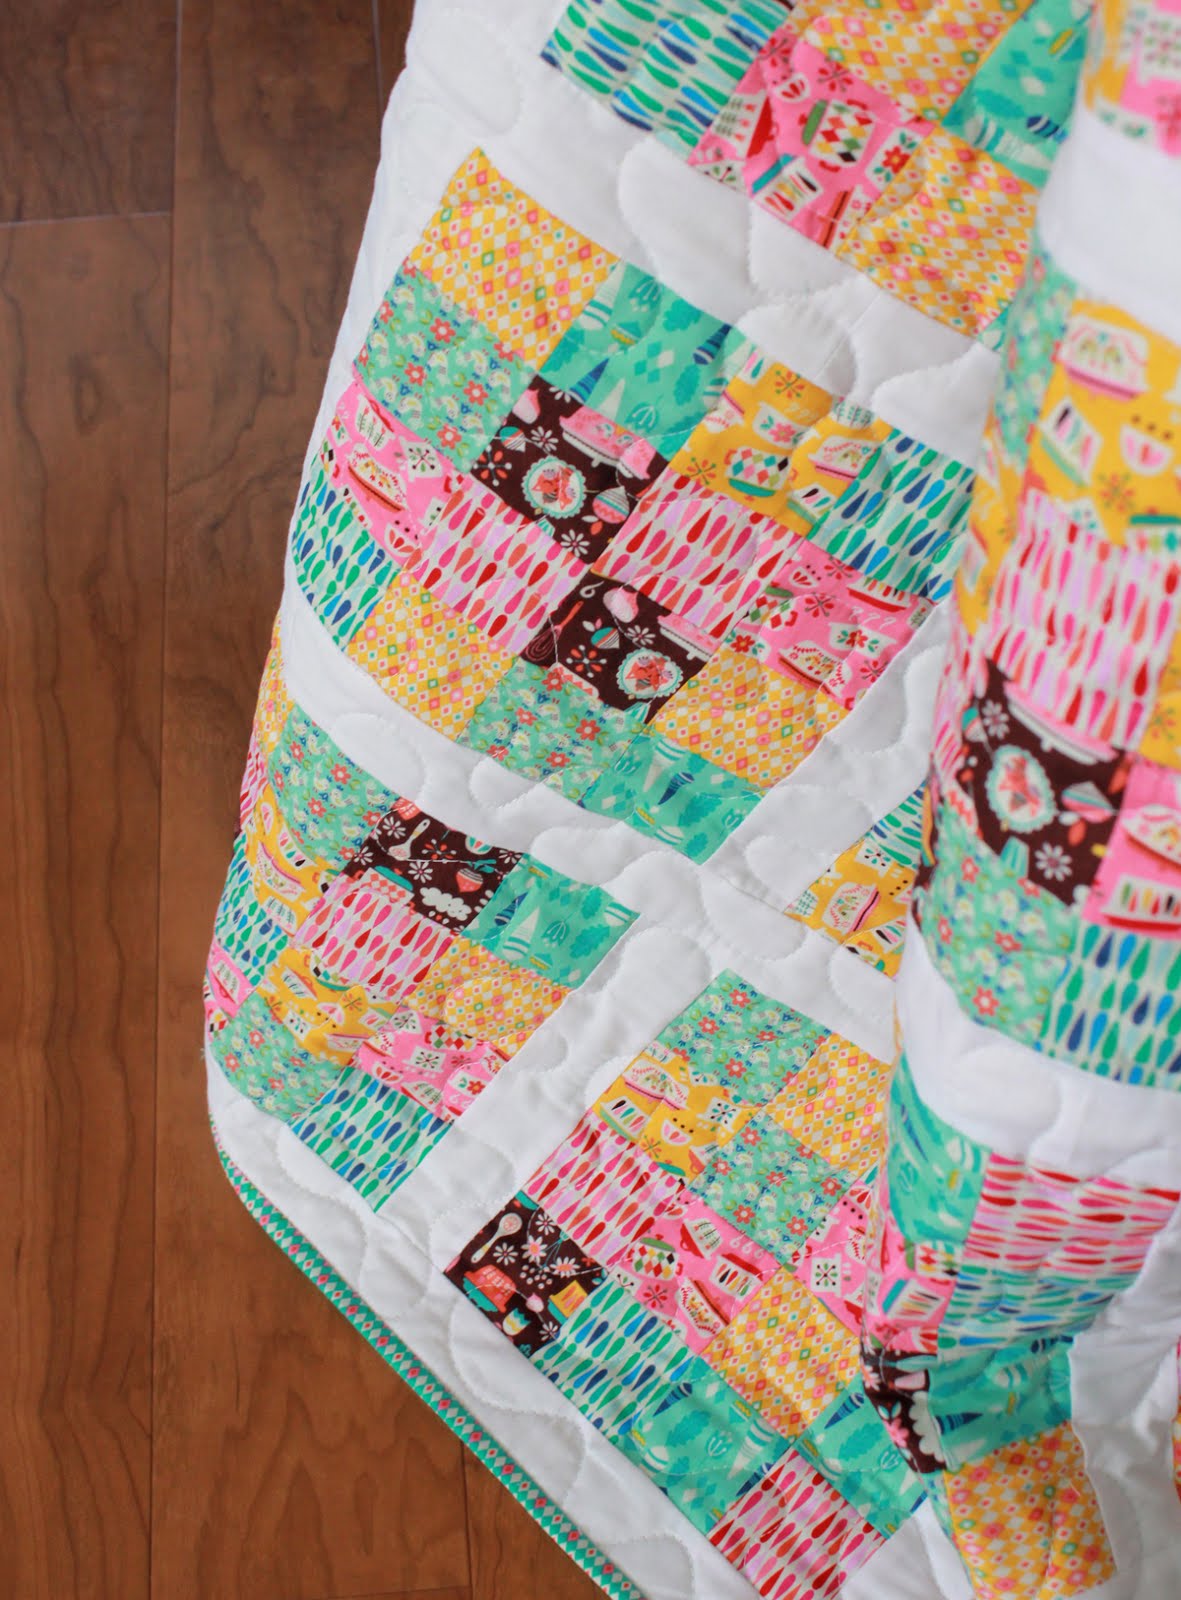
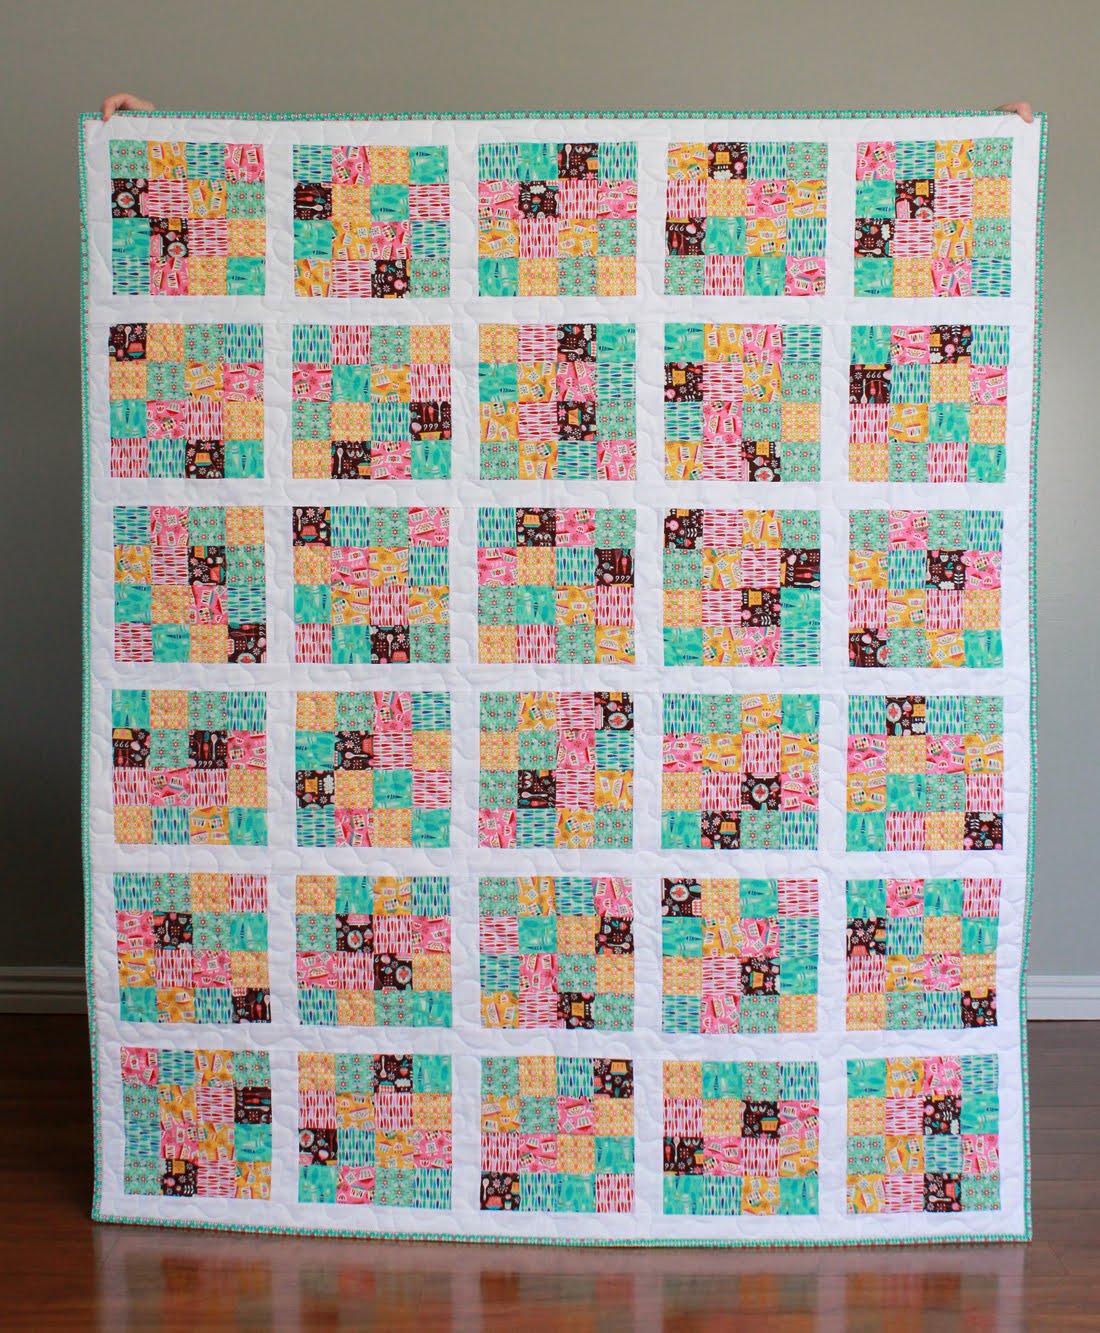
These small scale prints are so cute when they're cut small so I thought I'd use them in a traditional 16-patch quilt.  Each little square is cut at 2.5" and made into a 16-patch block that measures 8.5".

Fun quilt made using Vintage Kitchen fabrics from Riley Blake

I used 8 different prints from the Vintage Kitchen line to make this throw size quilt.  I love the bright, cheery colors - and all those little prints are so fun together!


Fun quilt made with Vintage Kitchen fabrics from Riley Blake

Here's the full quilt- measuring 50" x 59"


Fun quilt made using Vintage Kitchen fabrics from Riley Blake


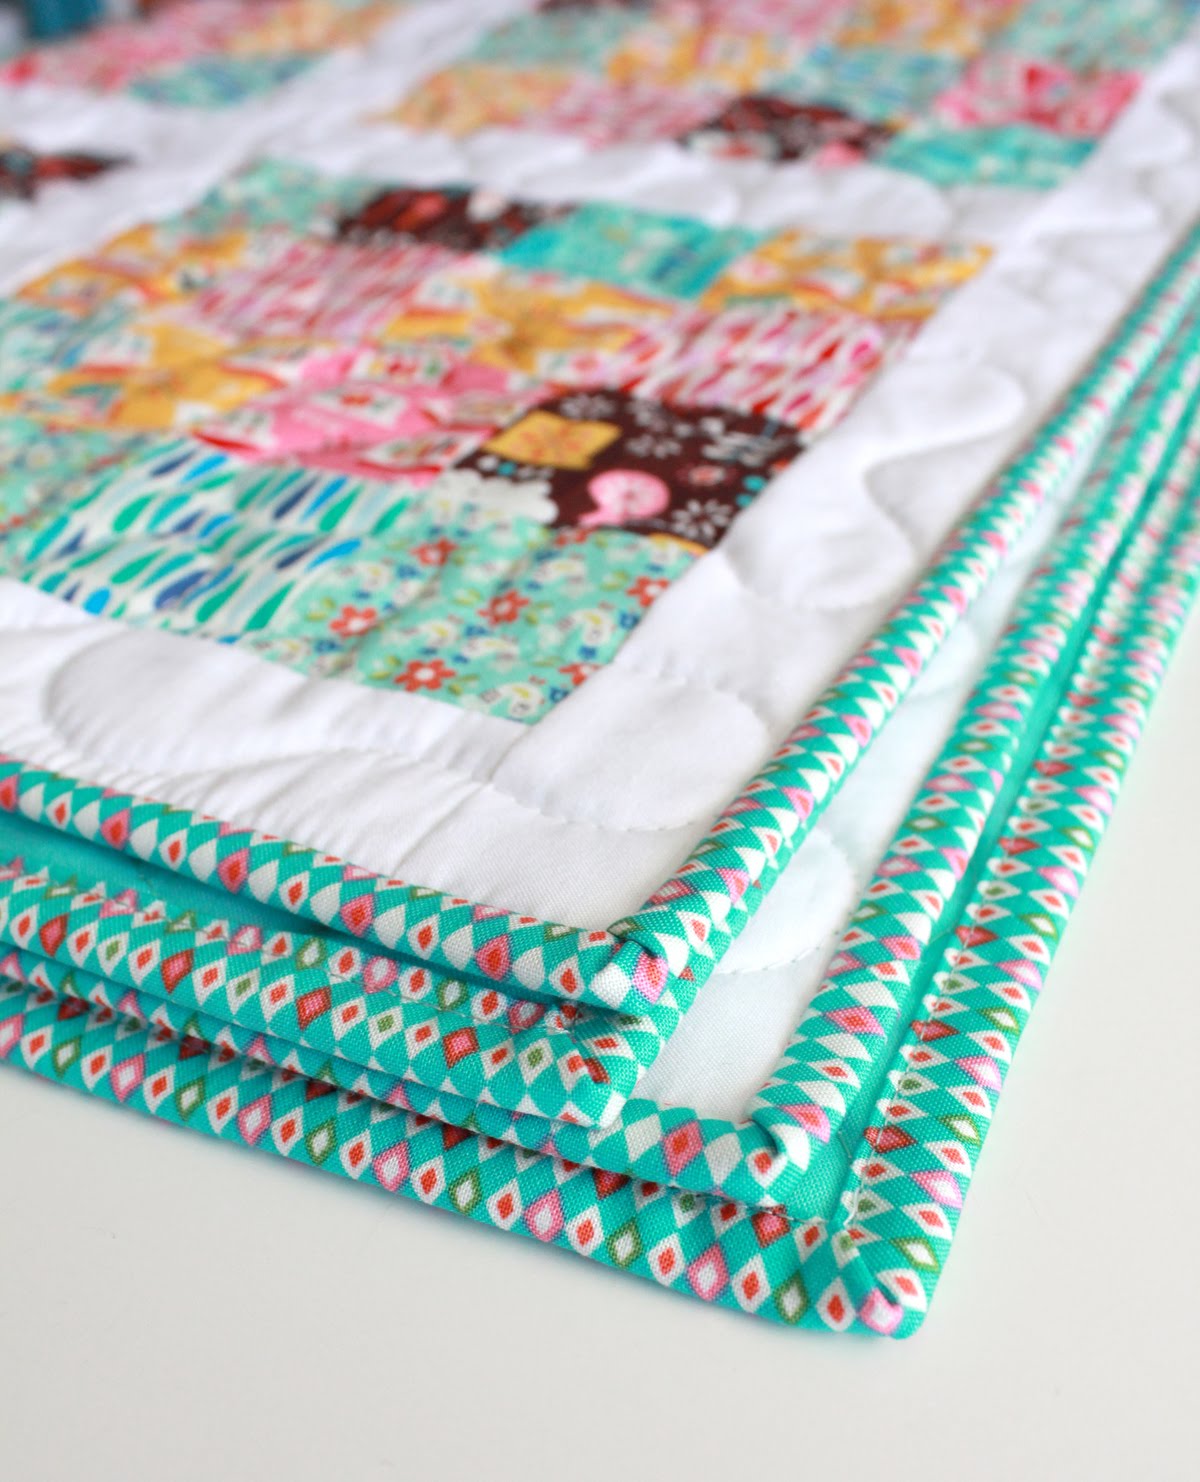
For the binding I used one of my other favorite prints - this harlequin print in teal.

Vintage Kitchen quilt


You can see the full line here on the Riley Blake website (and it's available now in stores!)  and read more about Andrea here on her blog.  Right now there's a blog tour going on and you can find the links for each day below.  It's been so fun to find some creative new bloggers to follow!  (Did you know if a blog is in another language, google can translate it for you?  Love that feature.)


3/7/2016
Julia - Riley Blake Designs
3/7/2016
Andrea - Jolijou
3/8/2016
Nina - Hedi
3/8/2016
Anja - Nähkitz
3/9/2016
Swafing Fabrics
3/9/2016
Carrie Beri Bee Designs
3/10/2016
Herzenssachen
3/10/2016
Andrea - anlukaa
3/11/2016
Emma - Frühstück bei Emma
3/11/2016
einchen - doppelnaht
3/14/2016
Anorina - Samelias Mum
3/14/2016
Bev - Flamingo Toes
3/15/2016
Amy - Diary of a Quilter
3/15/2016
Julia - lillesol & pelle
3/16/2016
Andy - A Bright Corner
3/16/2016
Sabine - farbenmix
3/17/2016
Simone - KaeptnStupsnase
3/17/2016
Sarah - Mädchenkram
3/18/2016
Melissa Corry
3/21/2016
Jessica Stewart
3/21/2016
Bine Guellich
3/22/2016
Lindsay Wilkes
3/22/2016
Sandra - Flaupa
3/23/2016
Amanda Niederhauser
3/23/2016
Ina - pattydoo
3/24/2016
Ruth Sodl-Warter
3/24/2016
Marissa - Rae Gun Ramblings

Wednesday, January 27, 2016

Pixelated Hearts


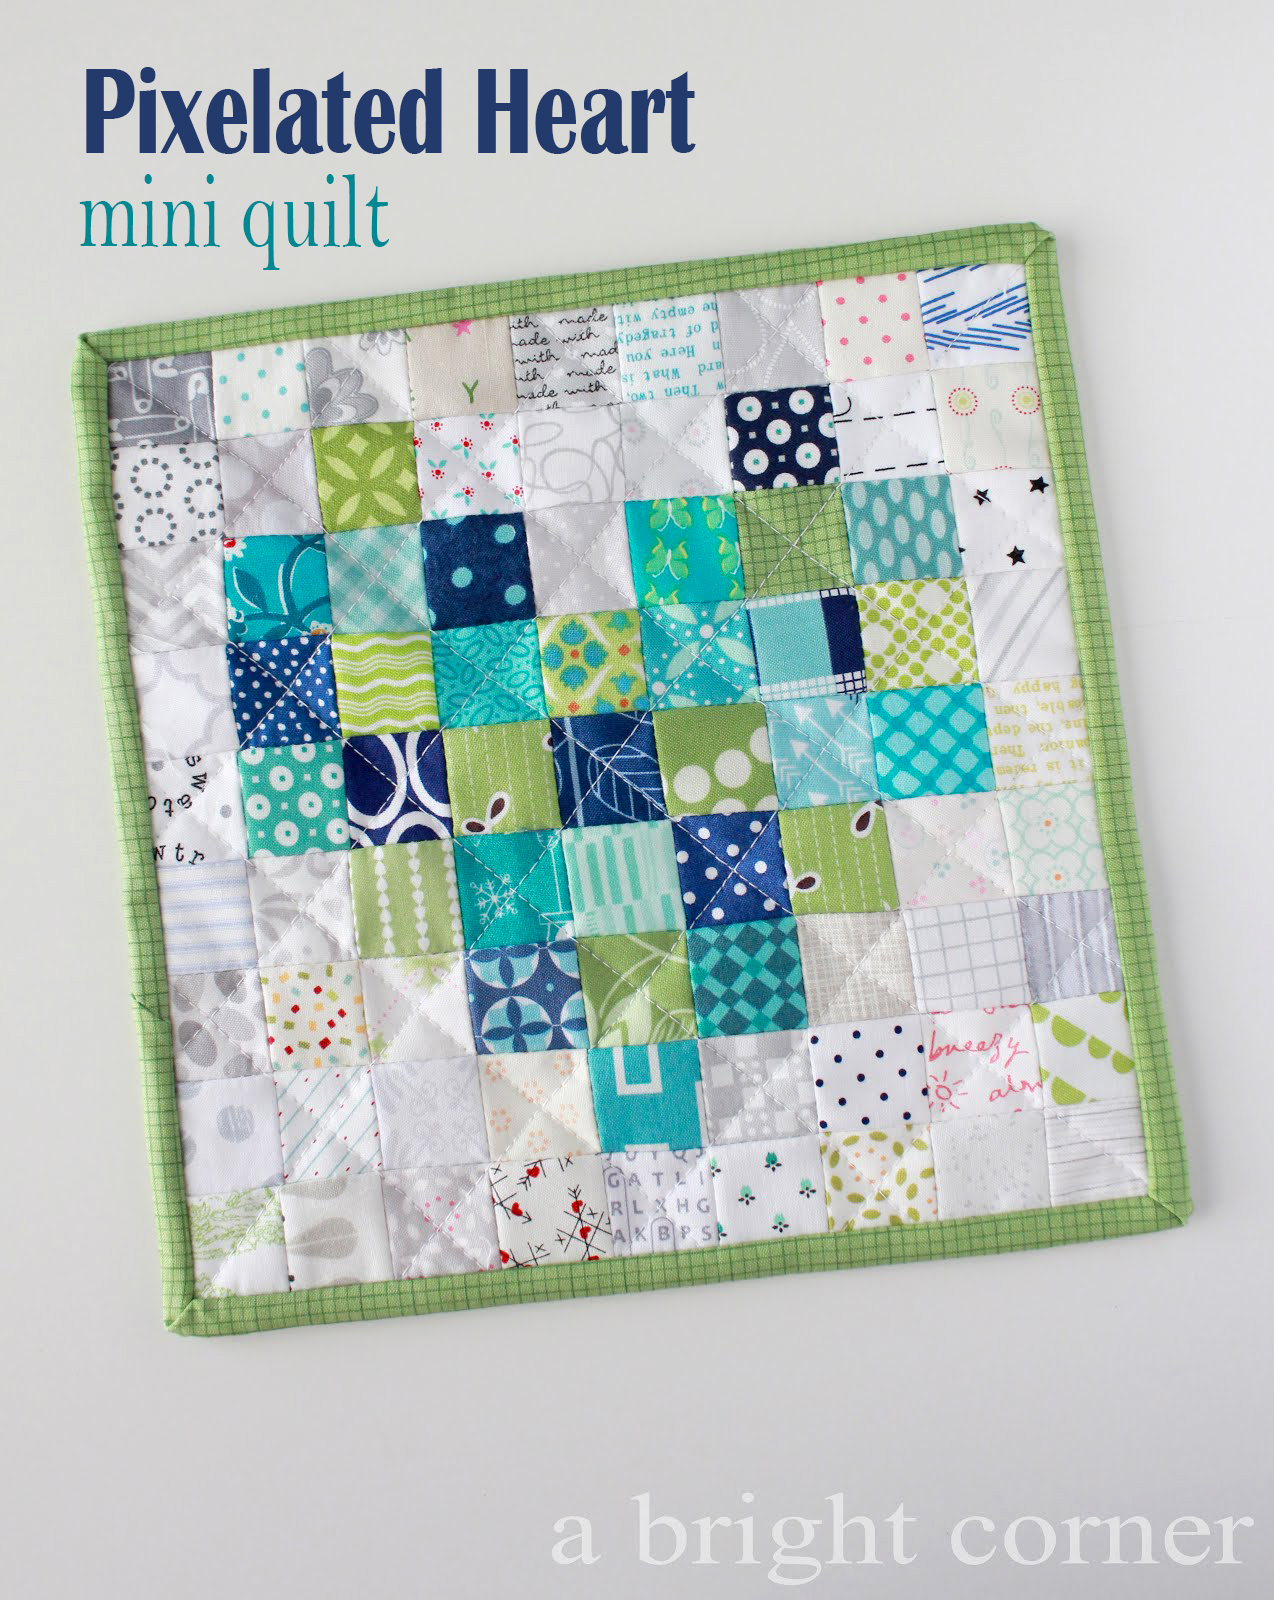
Pixelated Heart mini quilt tutorial from Andy of A Bright Corner

A couple of weeks ago I shared a link to a pixelated heart project - and now I've finally made my own!  You can find the original tutorial here on the Sew Mama Sew blog.

But since mine is a little different from the original tutorial I thought I'd show you how I made mine.  First of all, I didn't have any of that nifty pre-printed grid interfacing.  If you have it, that's great.  If not, it is easy to make your own!  I used the lightest weight fusible interfacing that I had.  

Pixelated Heart Mini Quilt - with a link to the tutorial!

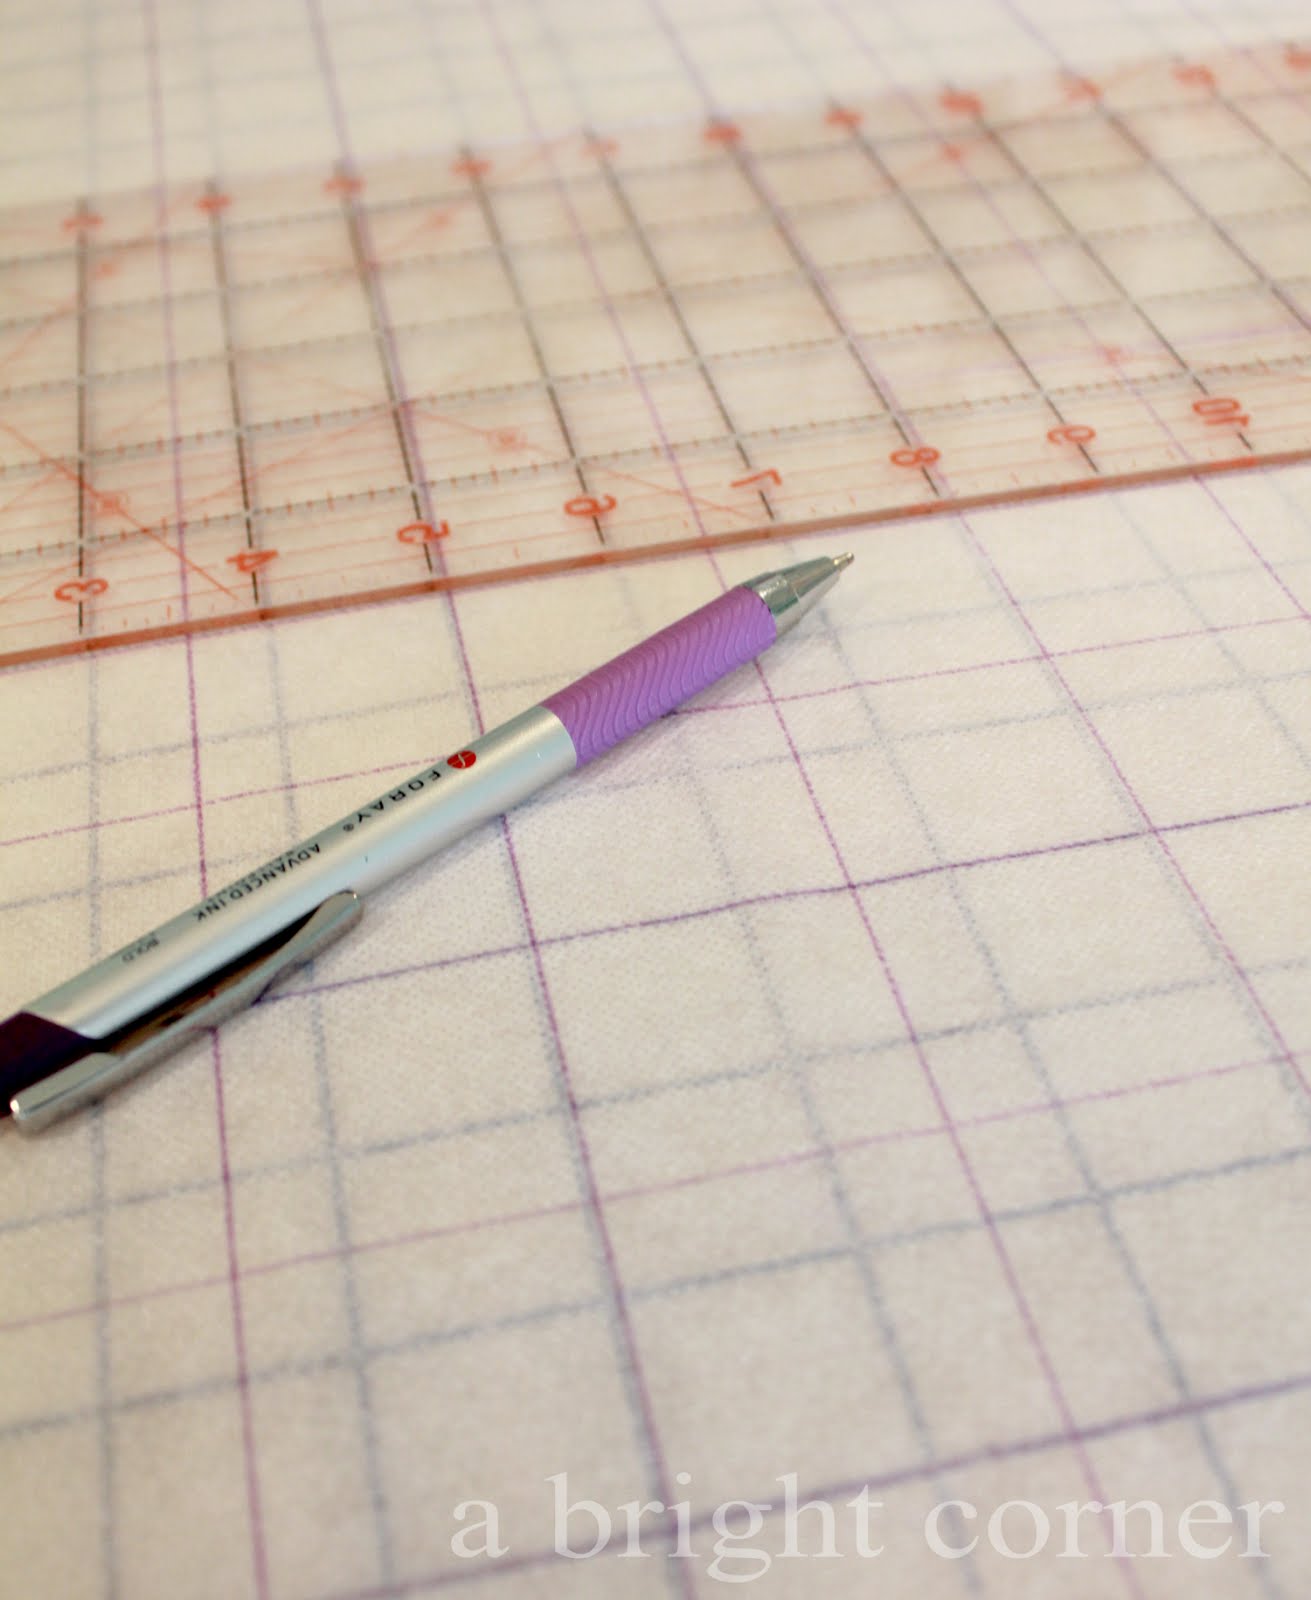
Decide how big you want to cut your squares (mine were 1.5").  Lay the interfacing over your cutting mat and using the lines on your mat and a ruler, just trace the grid.  You'll want to trace onto the smooth (non-fusible) side!  I used any ol' pen I had laying around.  

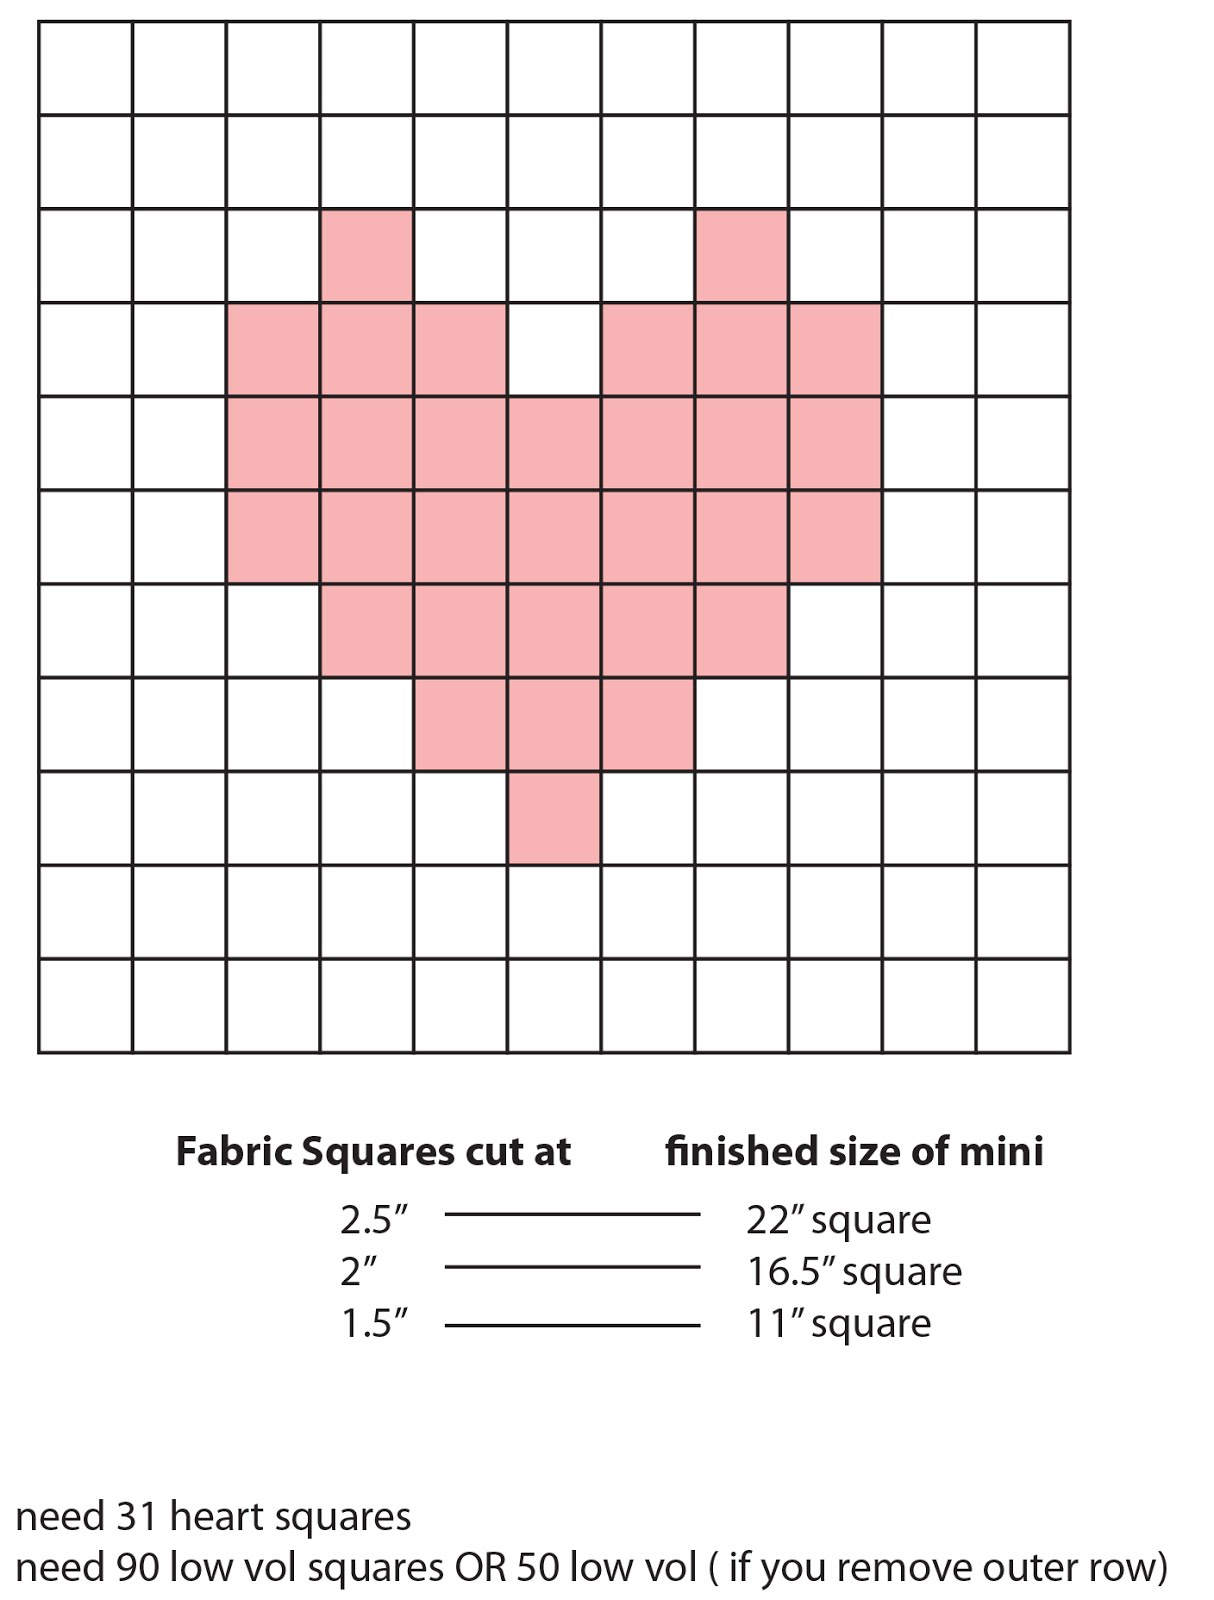
If you want to make a different sized mini, here's the math for you!


Pixelated Heart Mini Quilt - the math and diagram to make your own


Pixelated Heart Mini Quilt - with a link to the tutorial!


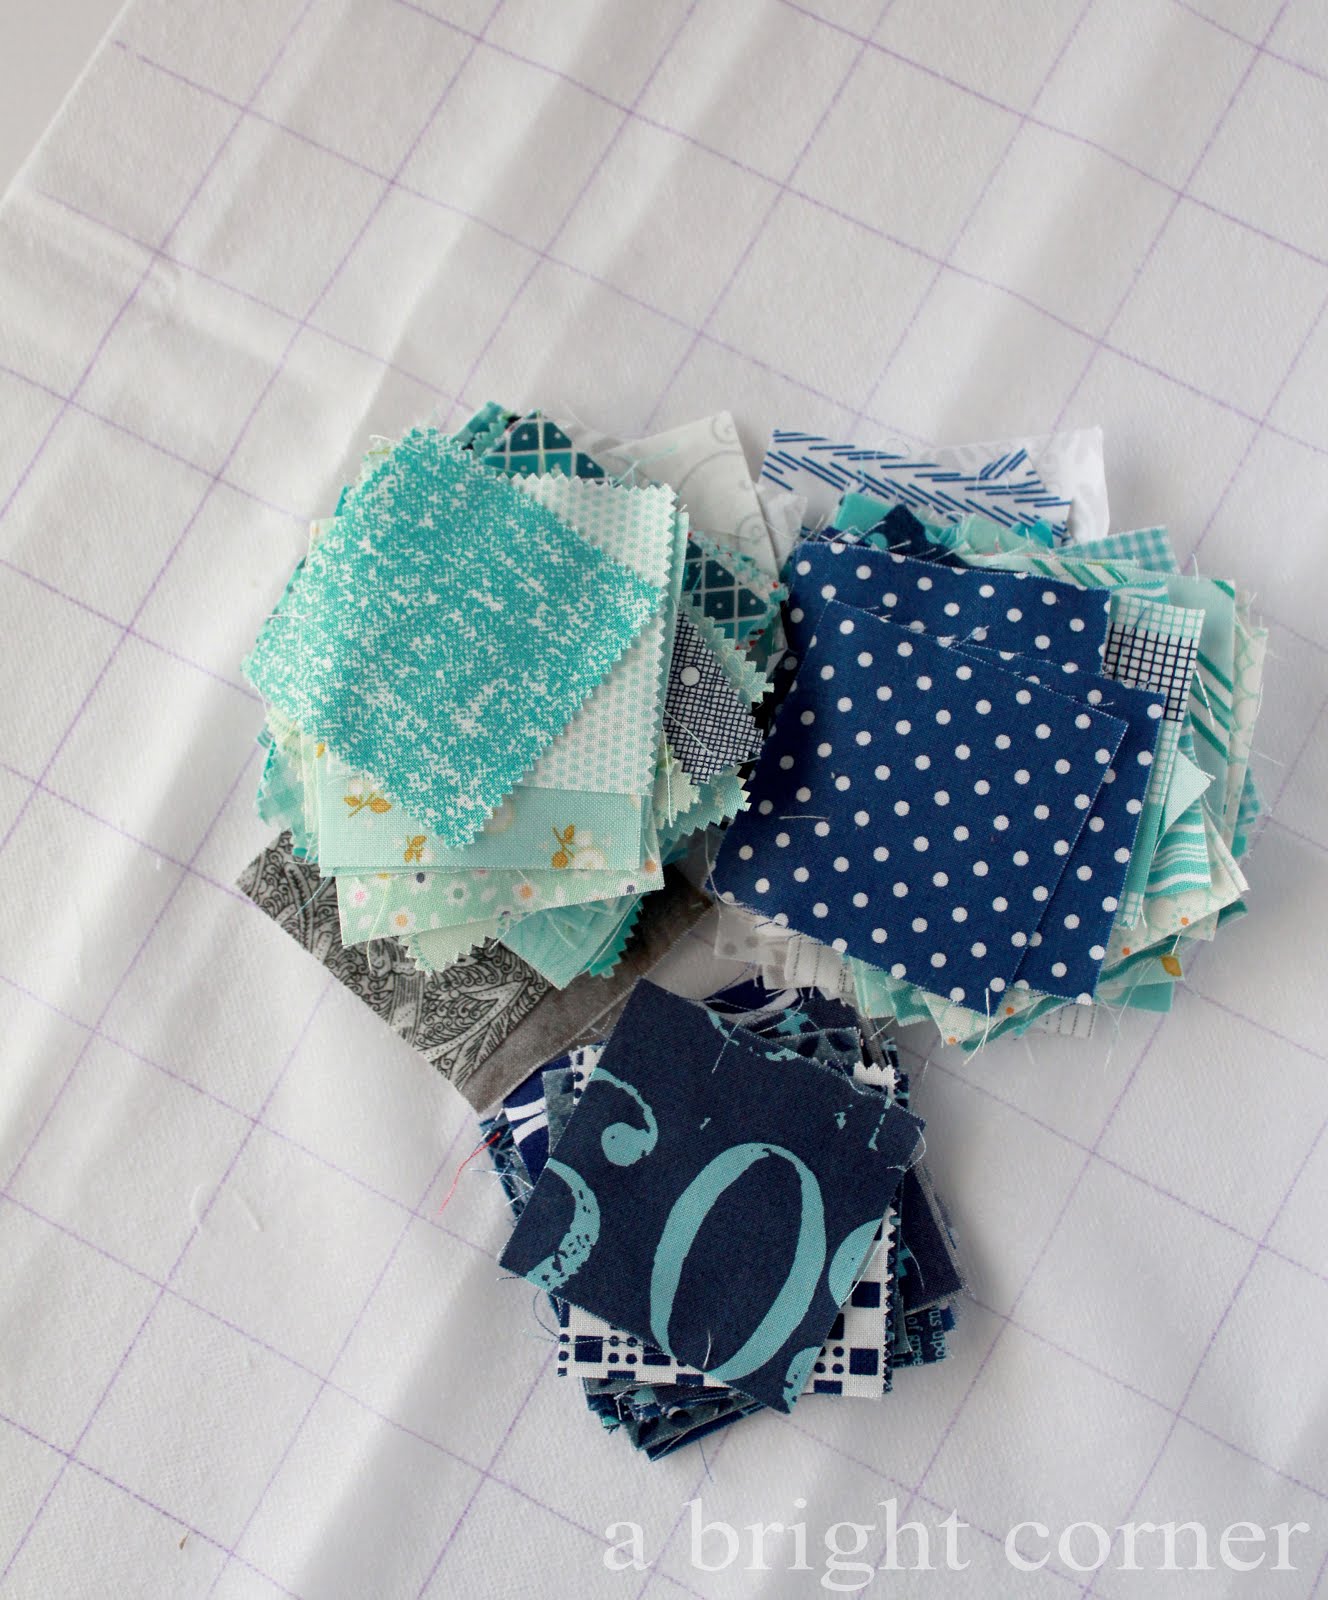
Now that you have figured out what size to make, and how many fabric squares you'll need, time to start cutting!  Cut the fabric squares the SAME SIZE as the grid you traced onto the interfacing. 

I went with a blue/green/aqua combo so it could stay on my wall all year 'round.  You'll need the most of the low-volume (or background) squares.  I did end up removing the outer row of background squares so I only needed 50.  And I tried to use each print only once, but I think a couple of duplicates slipped in there.

Use the diagram above to lay out your fabric squares in the shape of a heart.  Now just follow the original tutorial (here) to fuse everything down and then to sew your rows and columns together!

Pixelated Heart Mini Quilt - with a link to the tutorial!


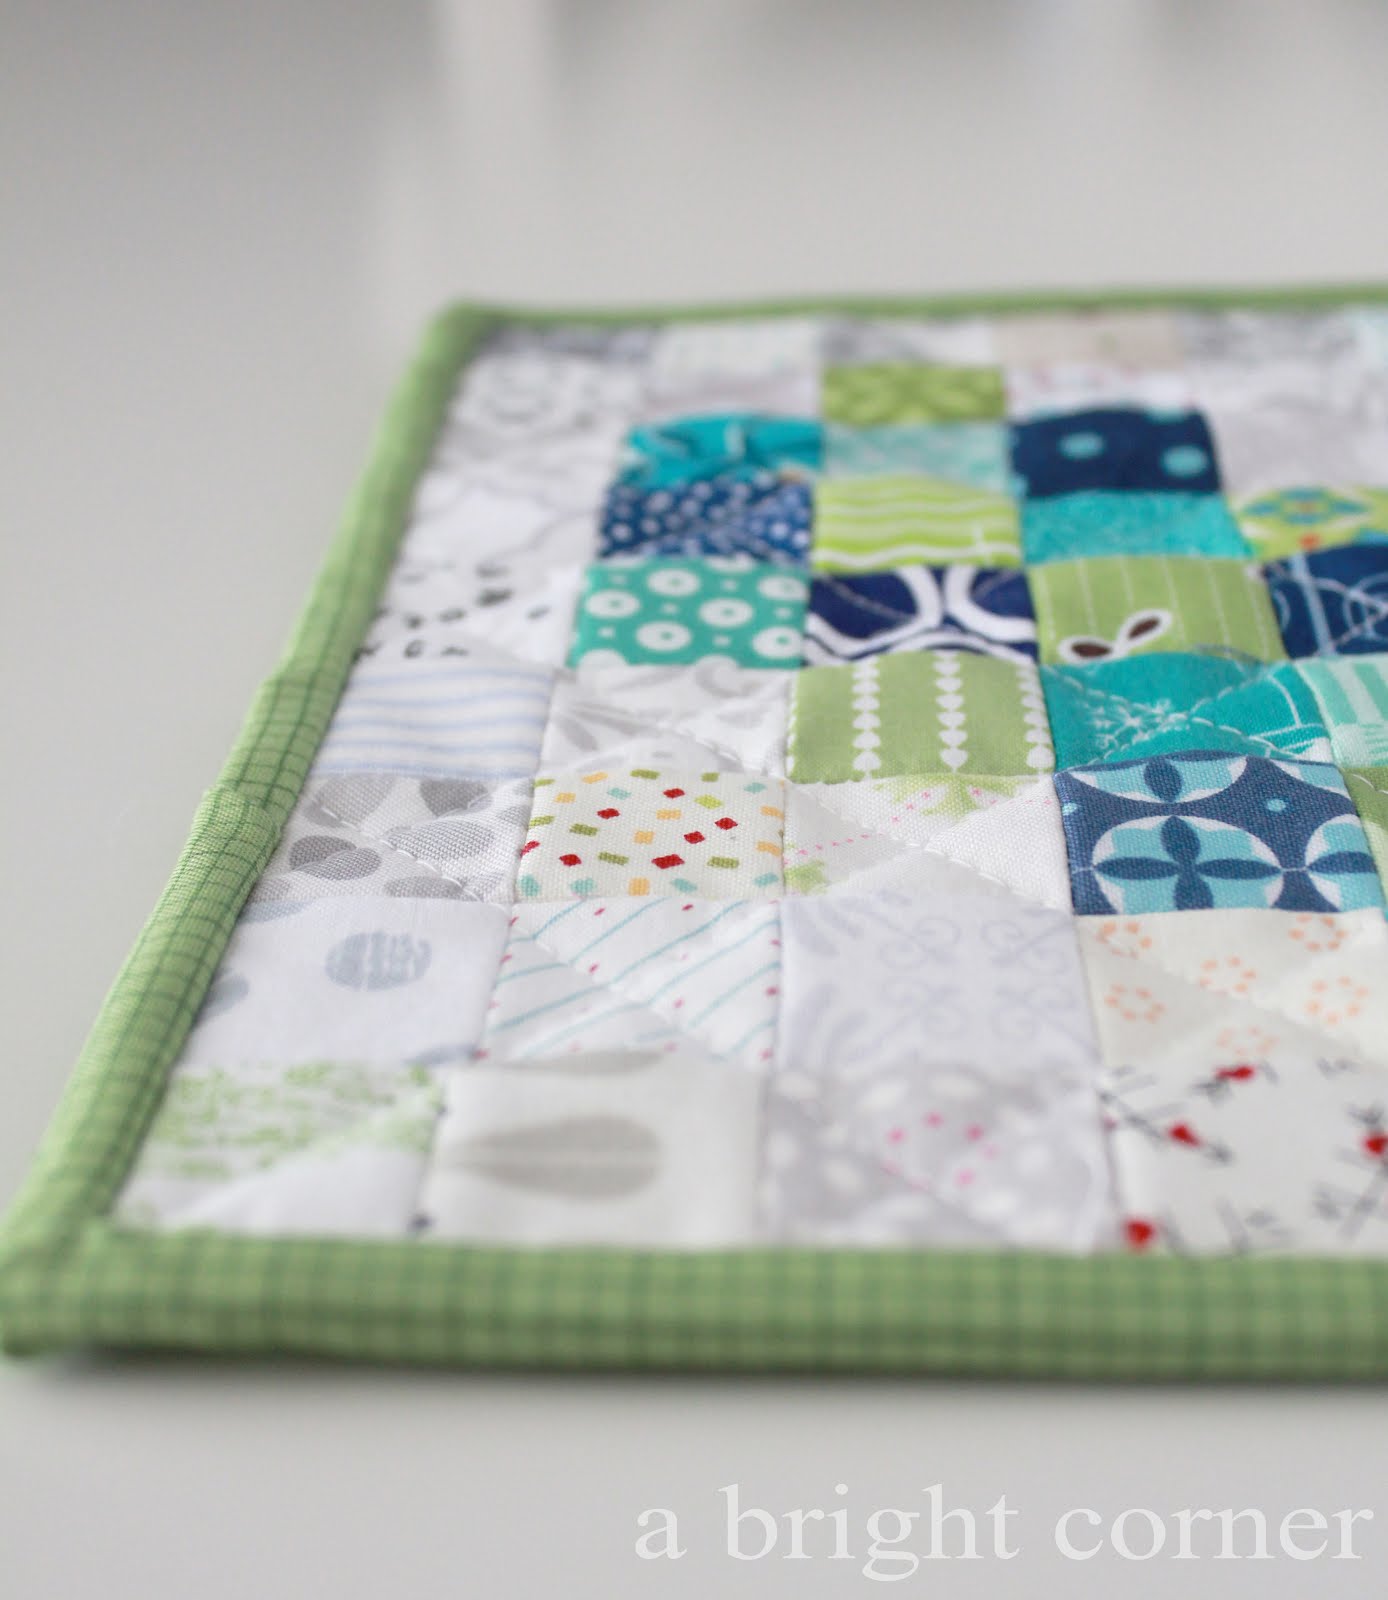
I quilted mine with some simple straight lines- nice and fast!  My new pixelated heart is up on my mini wall!  And my collection is growing - slowly.  What mini should I make next?  Do you have a favorite?

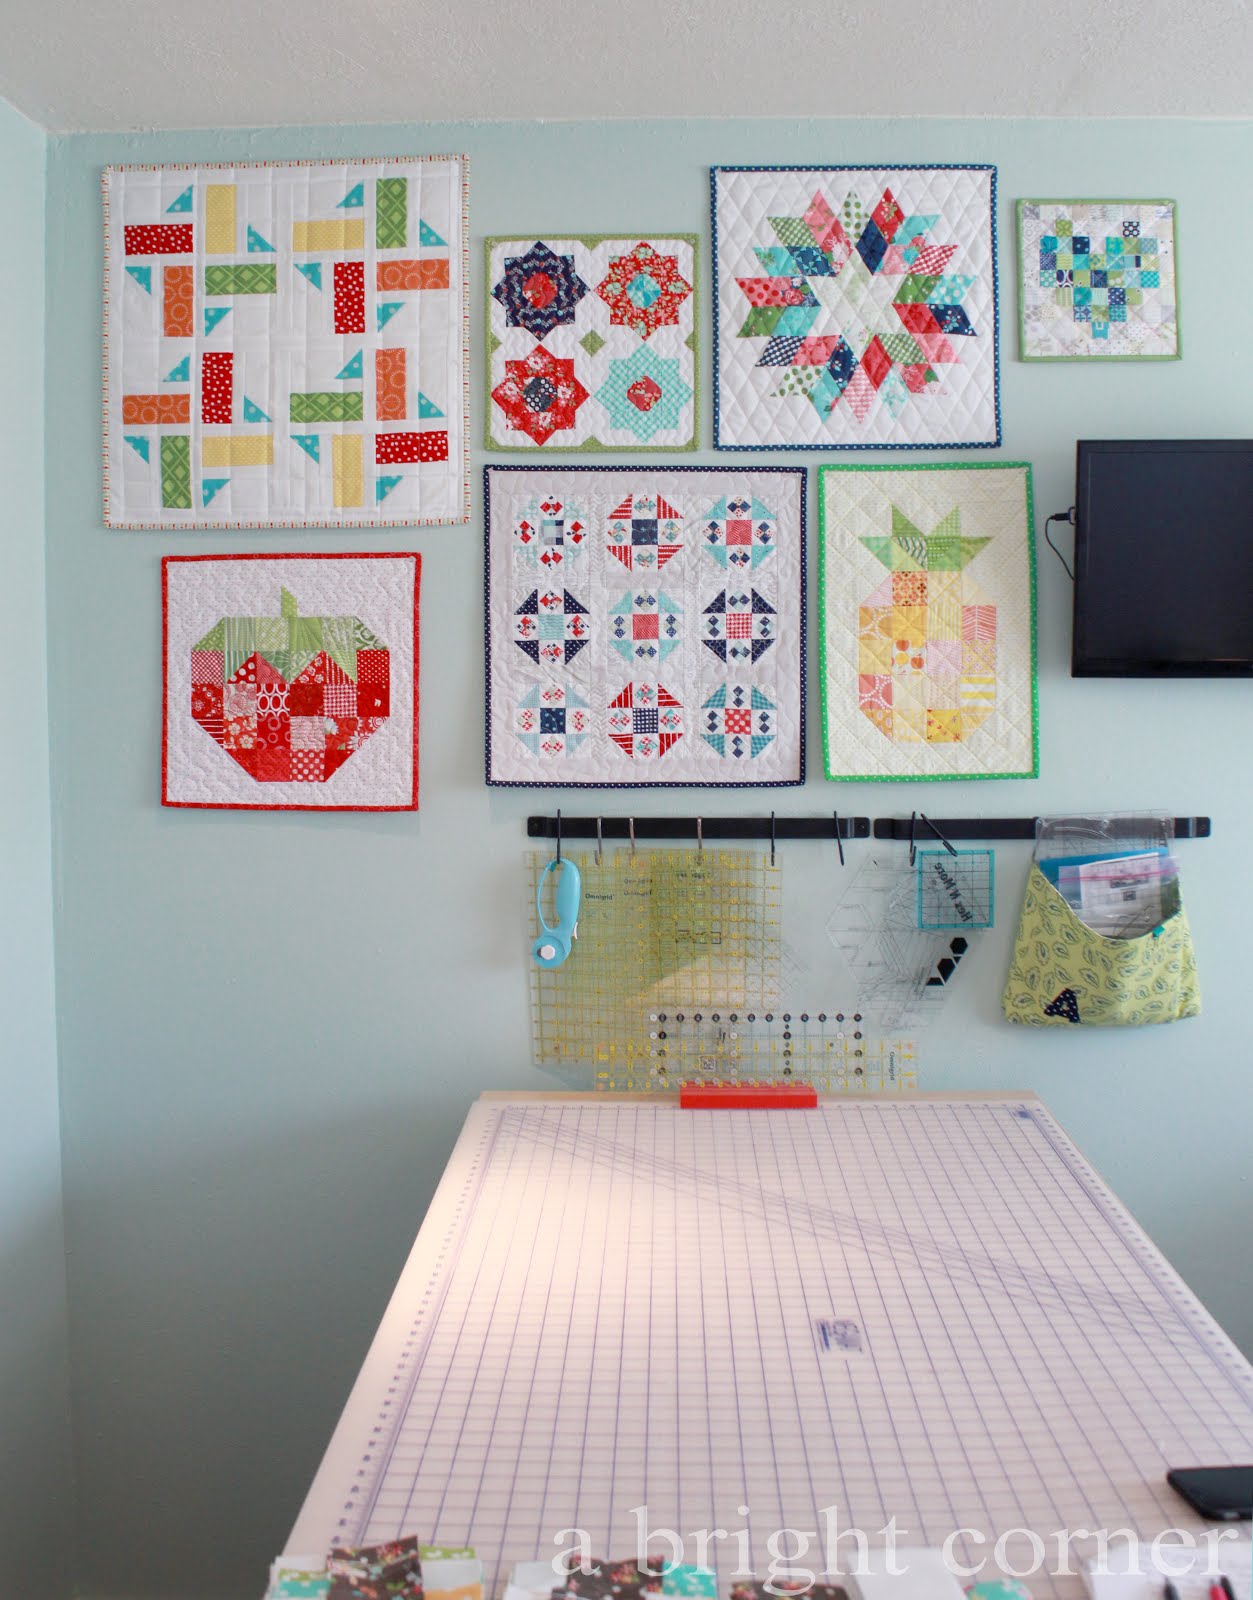
Wall of mini quilts


Wednesday, January 13, 2016

Little Miss Sunshine

Over the past couple of weeks while the weather has been cold and gray, I've been sewing with some delightfully sunny fabrics!  These prints are from an upcoming line from Moda called Little Miss Sunshine.  It was designed by Vanessa Goertzen and will be in stores in April.

Little Miss Sunshine fabric

The block pattern I've been using is in the most recent issue of Quiltmaker's 100 Blocks.  It's block #1184 called Electric Avenue and it's designed by Jessi Kurtz.

Quiltmaker's 100 Blocks magazine

There were several blocks in the magazine that caught my eye, but I've been on the lookout for the perfect way to use these Little Miss Sunshine fabrics and this block was IT.  I love how the prints play together in a scrappy way when they're cut up into smaller pieces.

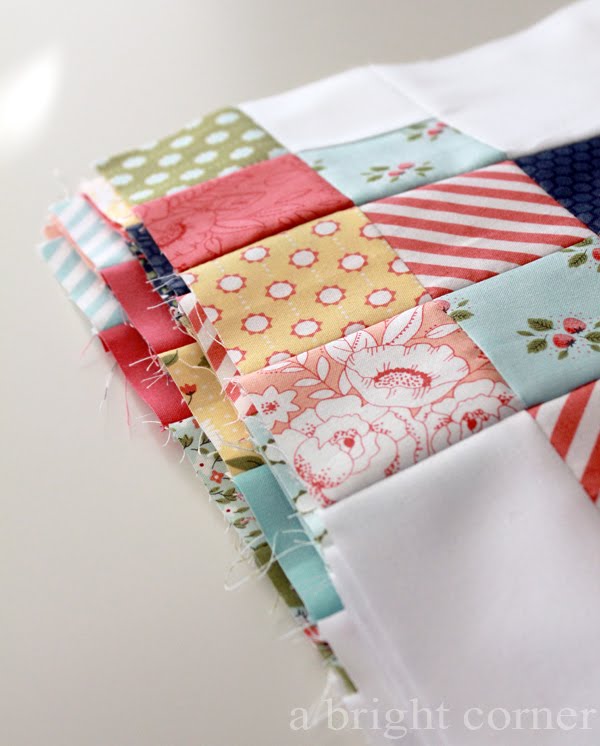
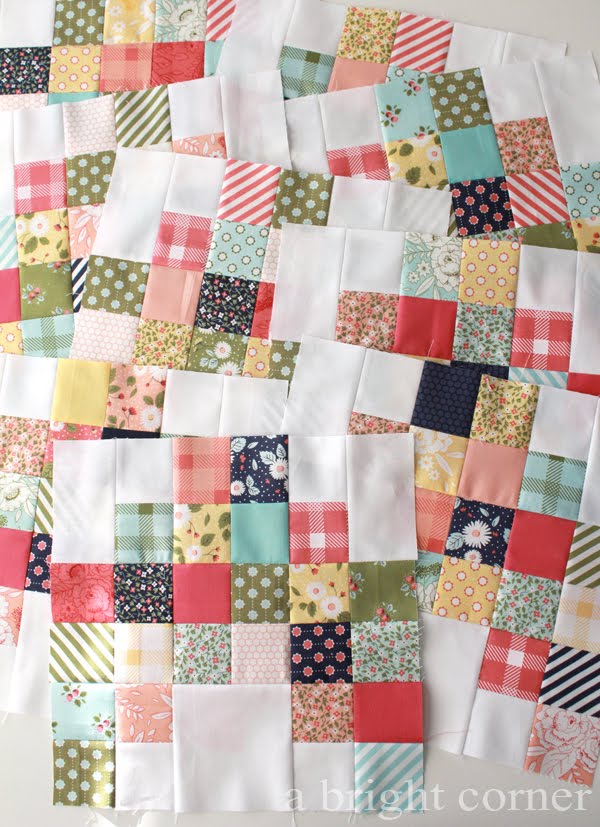
Here's what one block looks like-


Little Miss Sunshine quilt blocks

And with some jelly roll strips, some math, and a little bit of strip piecing, I was able to whip up  a bunch of blocks in no time.  Well, I watched a couple episodes of the X Files, and some Downton Abbey, so it did take me several hours ;)


Little Miss Sunshine quilt blocks

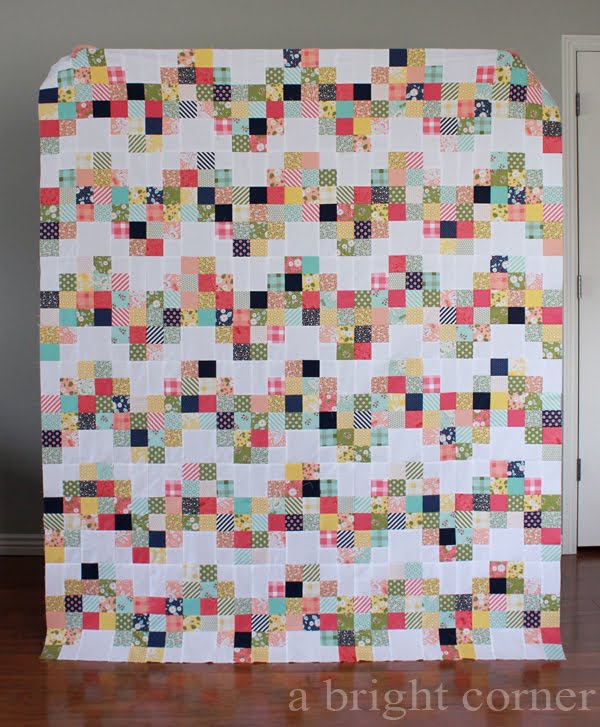
This quilt used 30 blocks and right now measures about 60" x 72".  I like this throw size so I think I'll stop here and quilt it.   

Little Miss Sunshine quilt

This layout was the first one I tried - and I DO like it - but I now wish I would have played around with the blocks to see what other fun arrangements I could have come up with.  Oh well!  


Related Posts Plugin for WordPress, Blogger...